Havwoods Trekker Composite Decking Review

When summer finally arrives there is nothing better than to sit out on the decking enjoying some fresh air and balmy sunshine. Well, that's what we thought a month or so ago when we decided to add a fresh new decking area outside the studio, and we thought we'd try the new and innovative Trekker composite decking from Havwoods to see how easy it is to lay and how well it performs and looks once down.
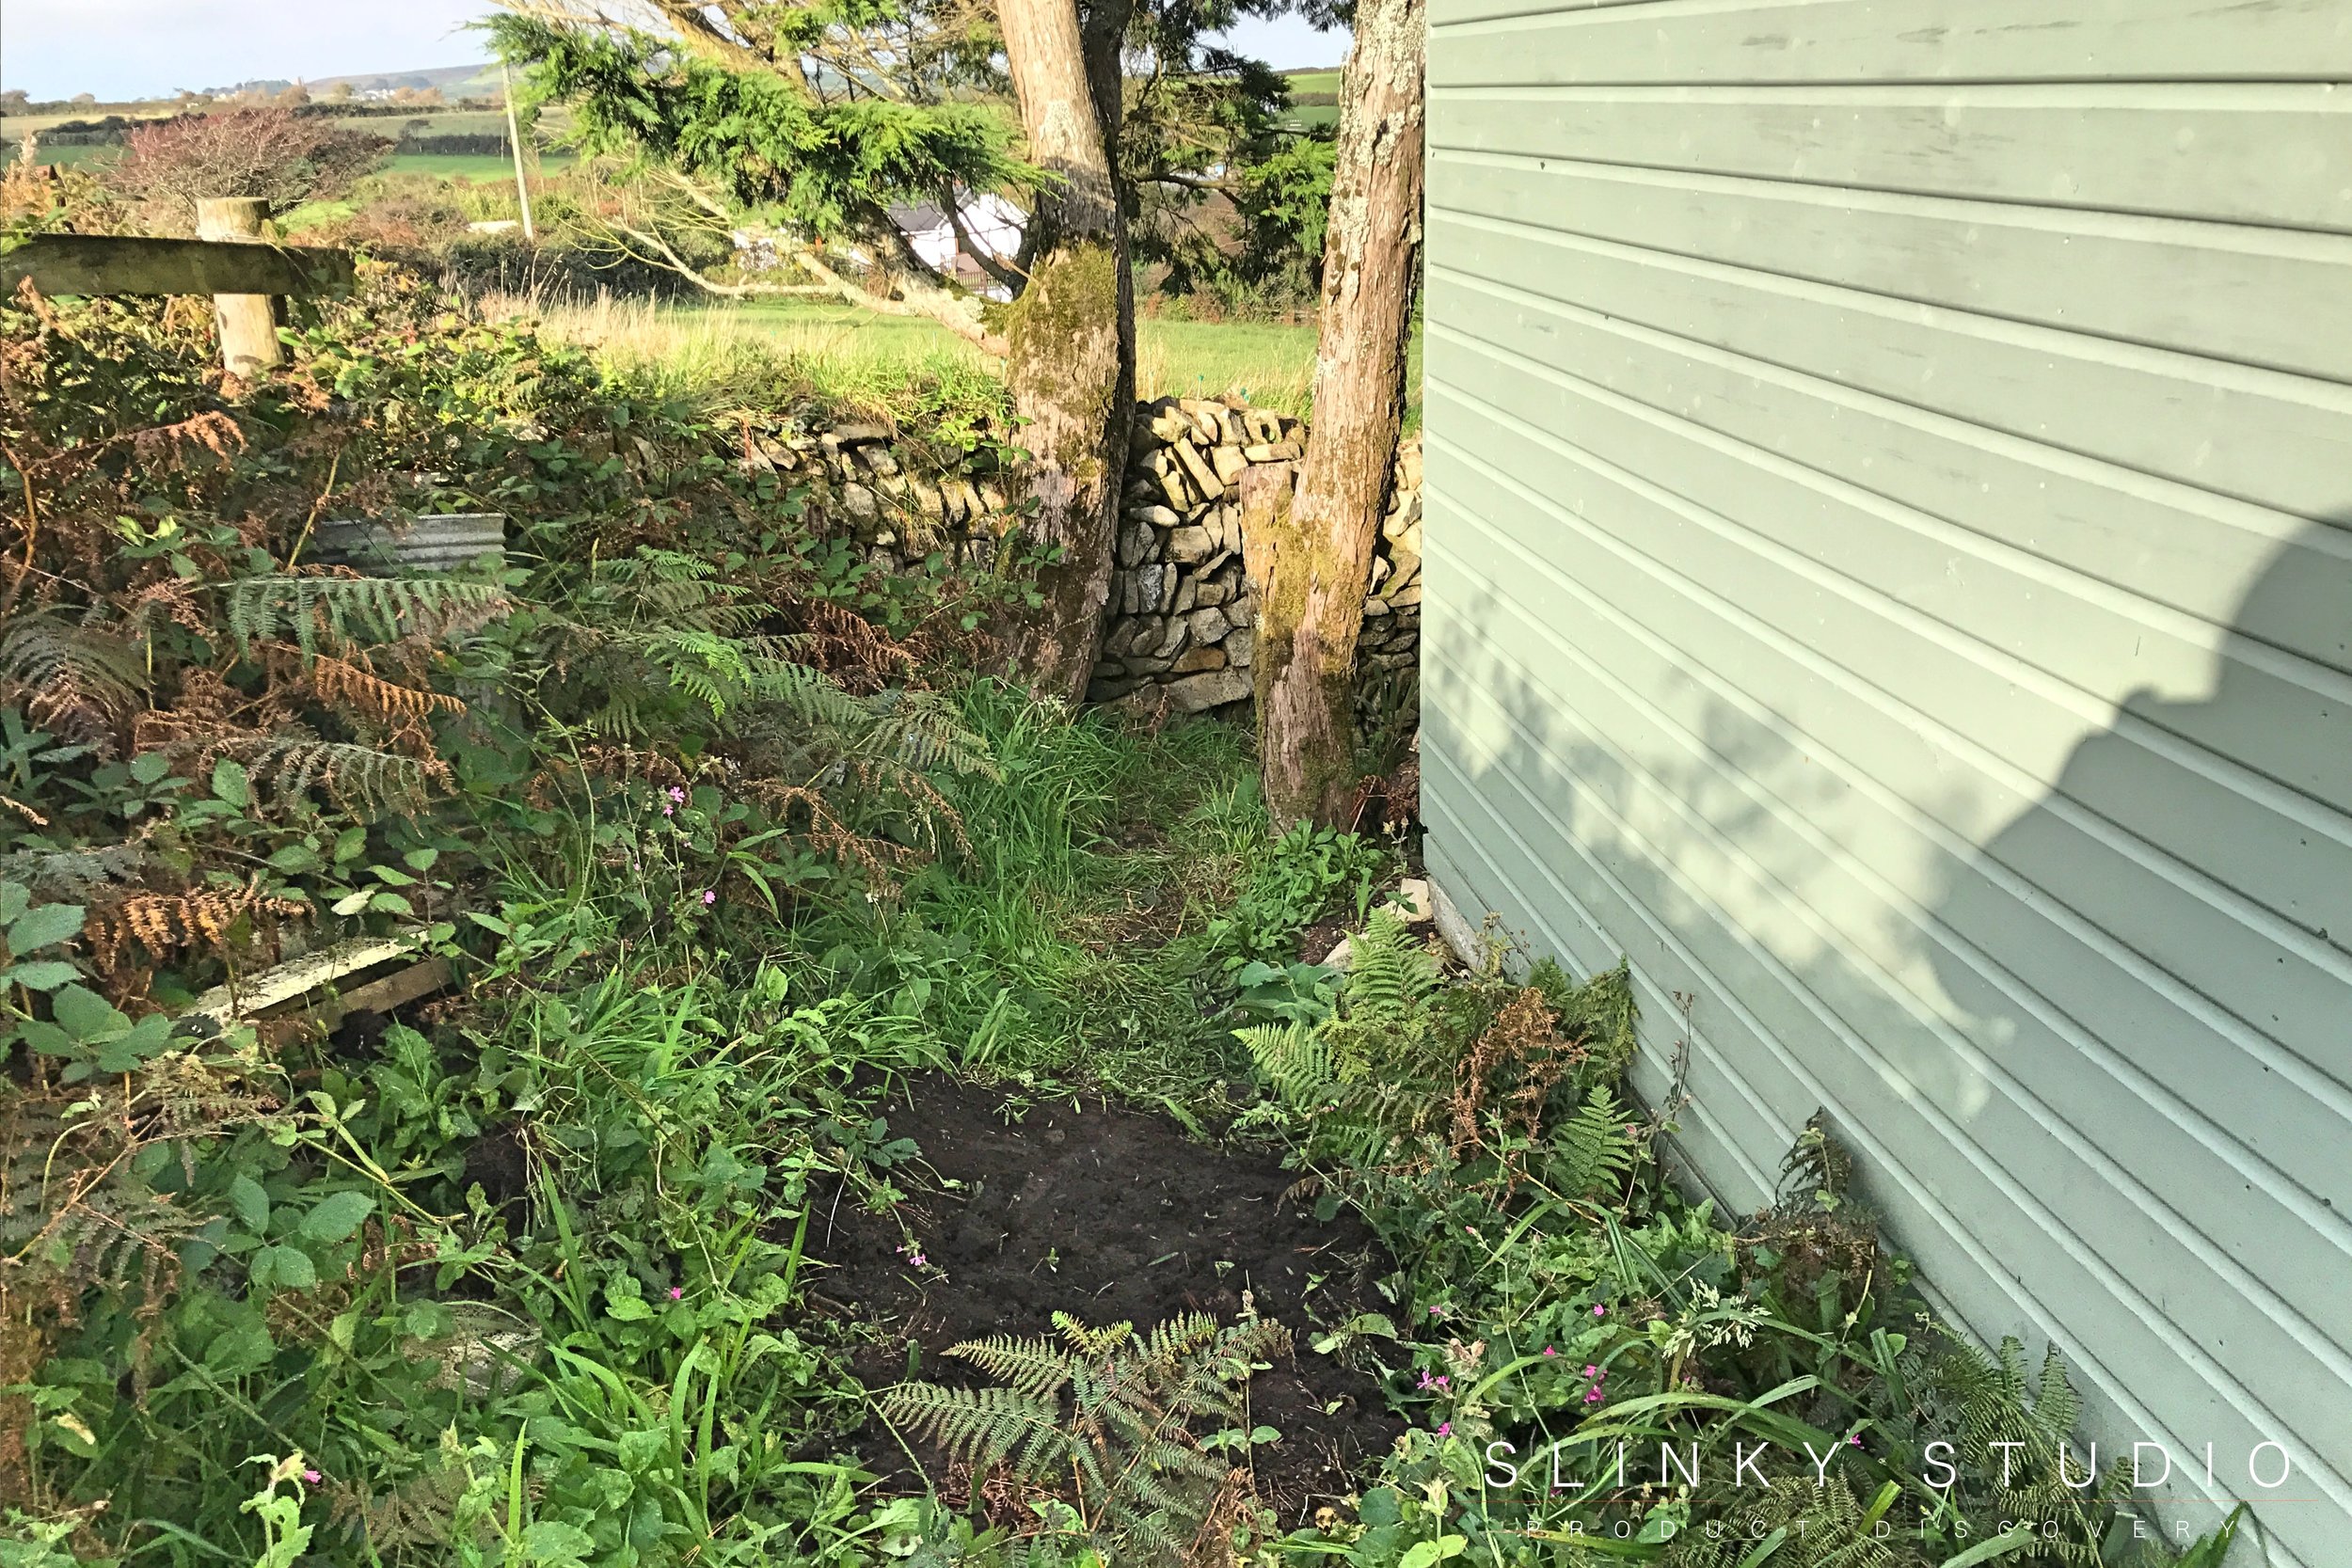
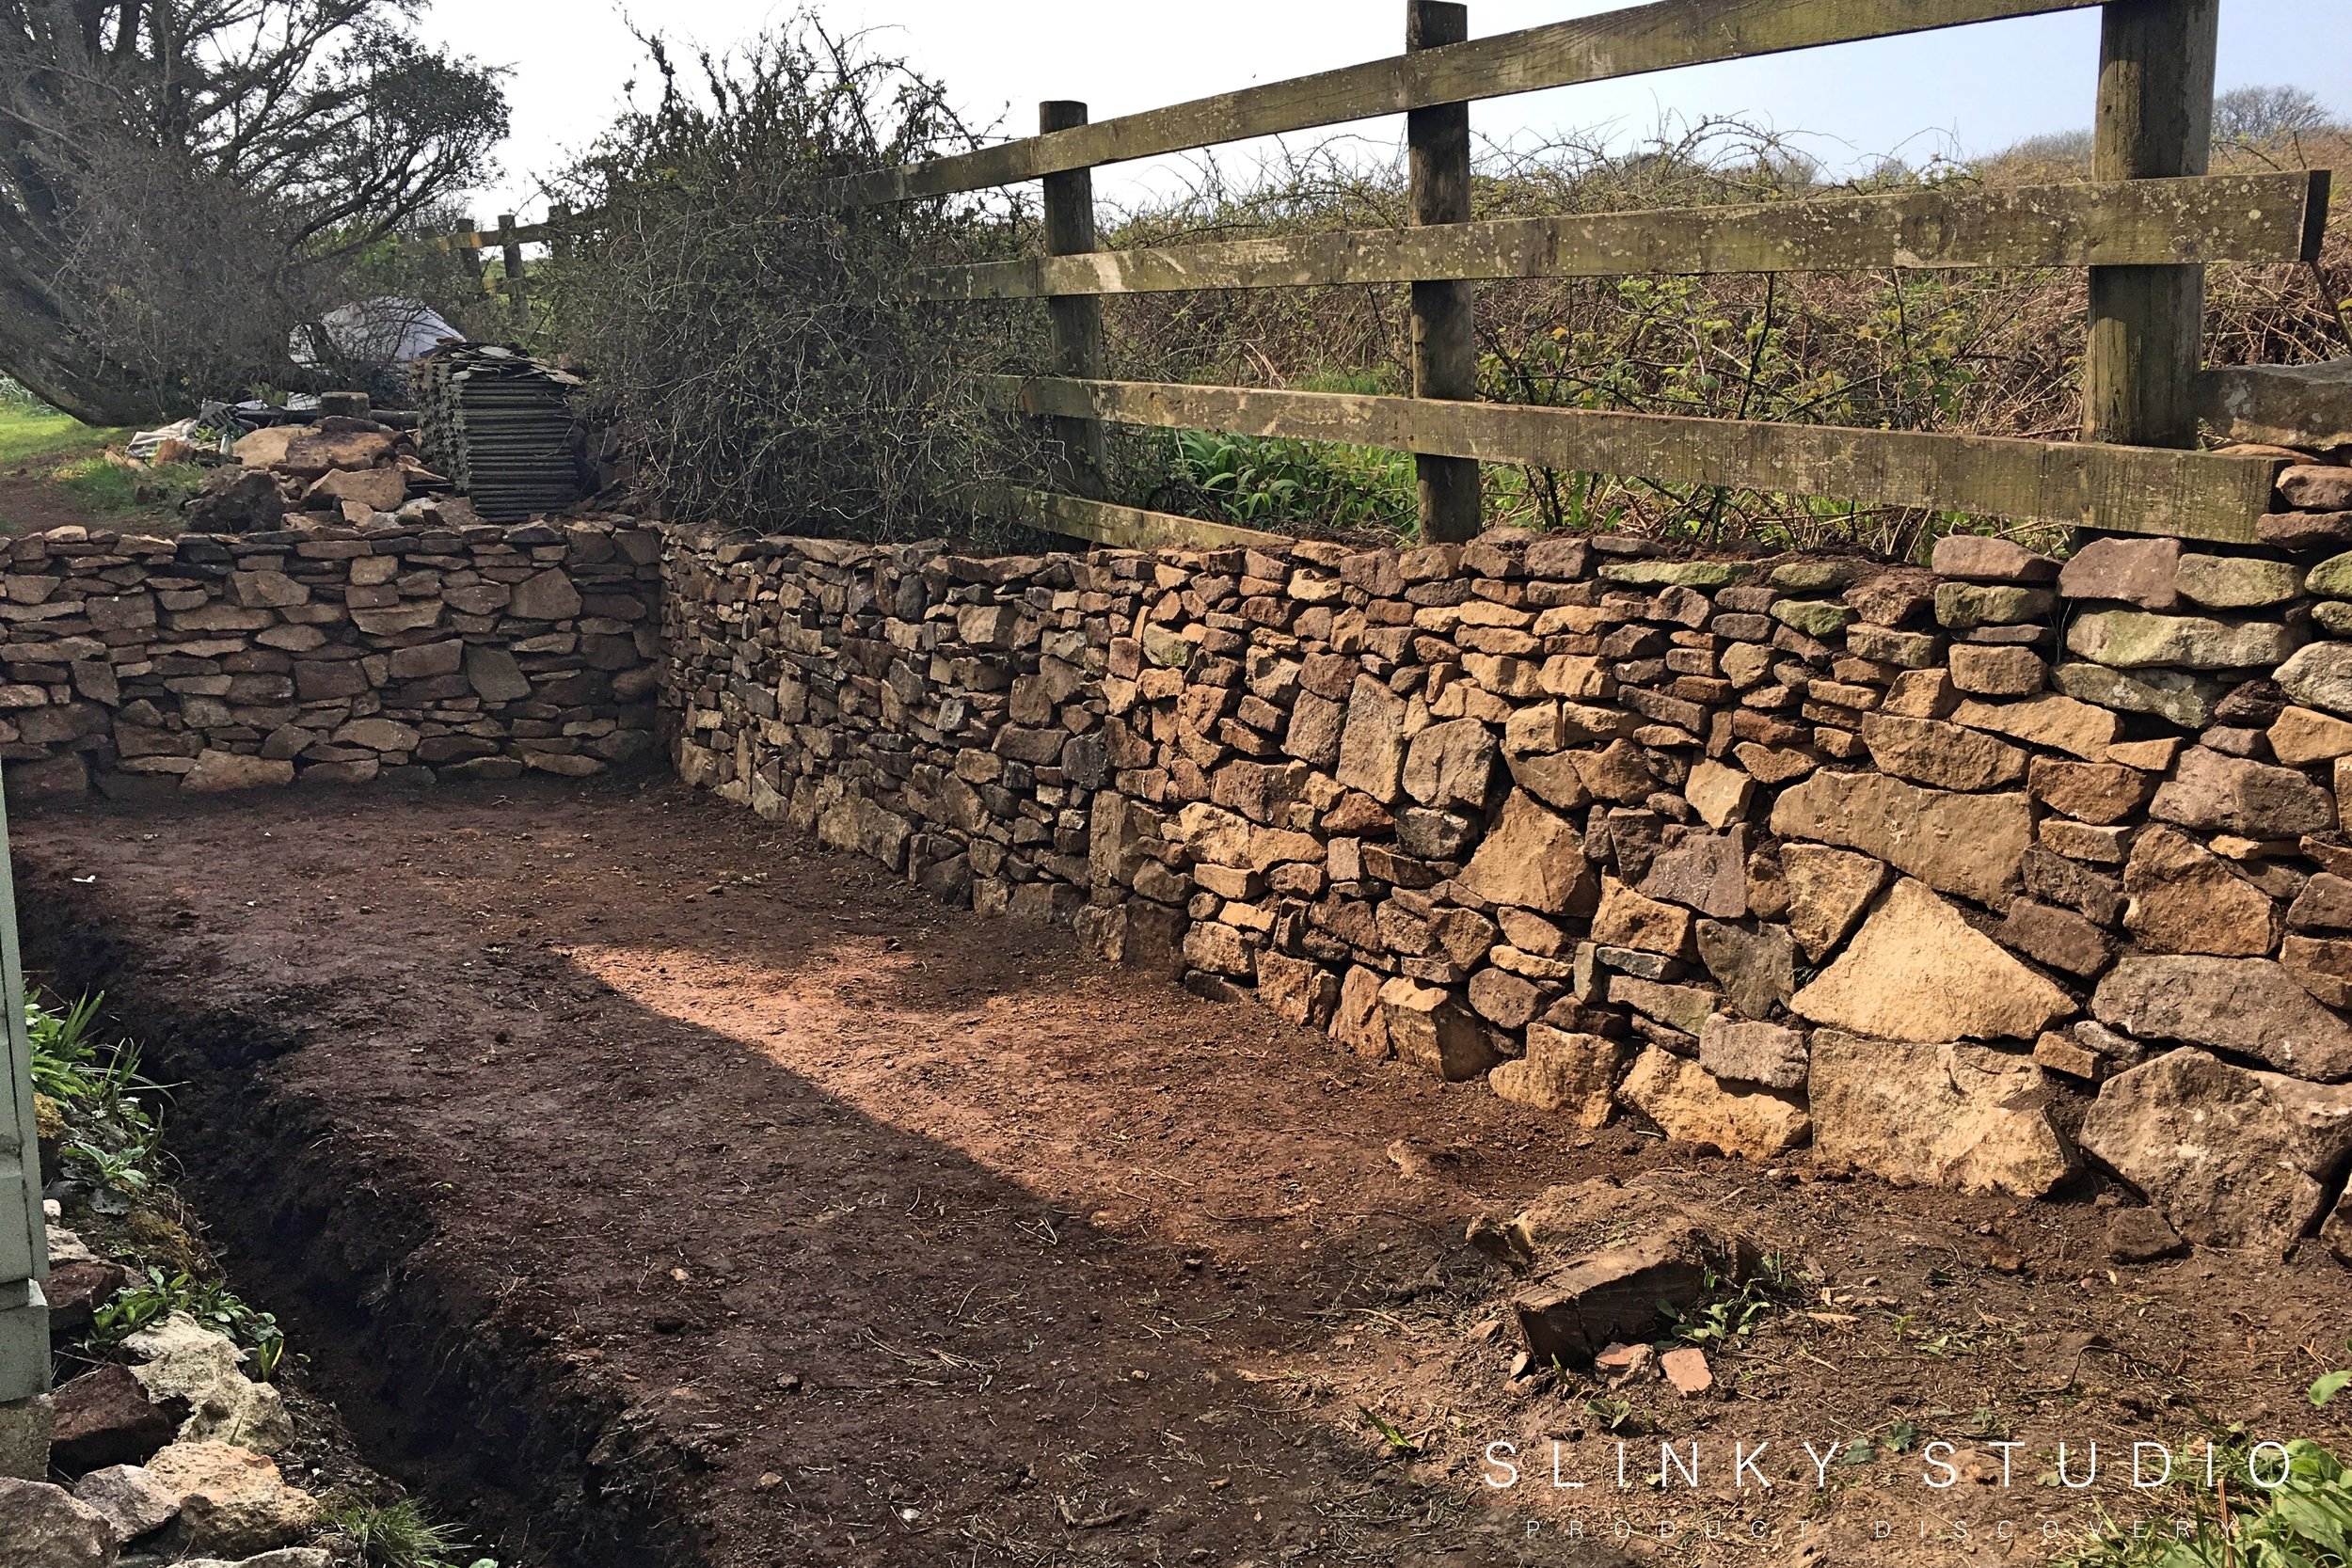
Ground Work First
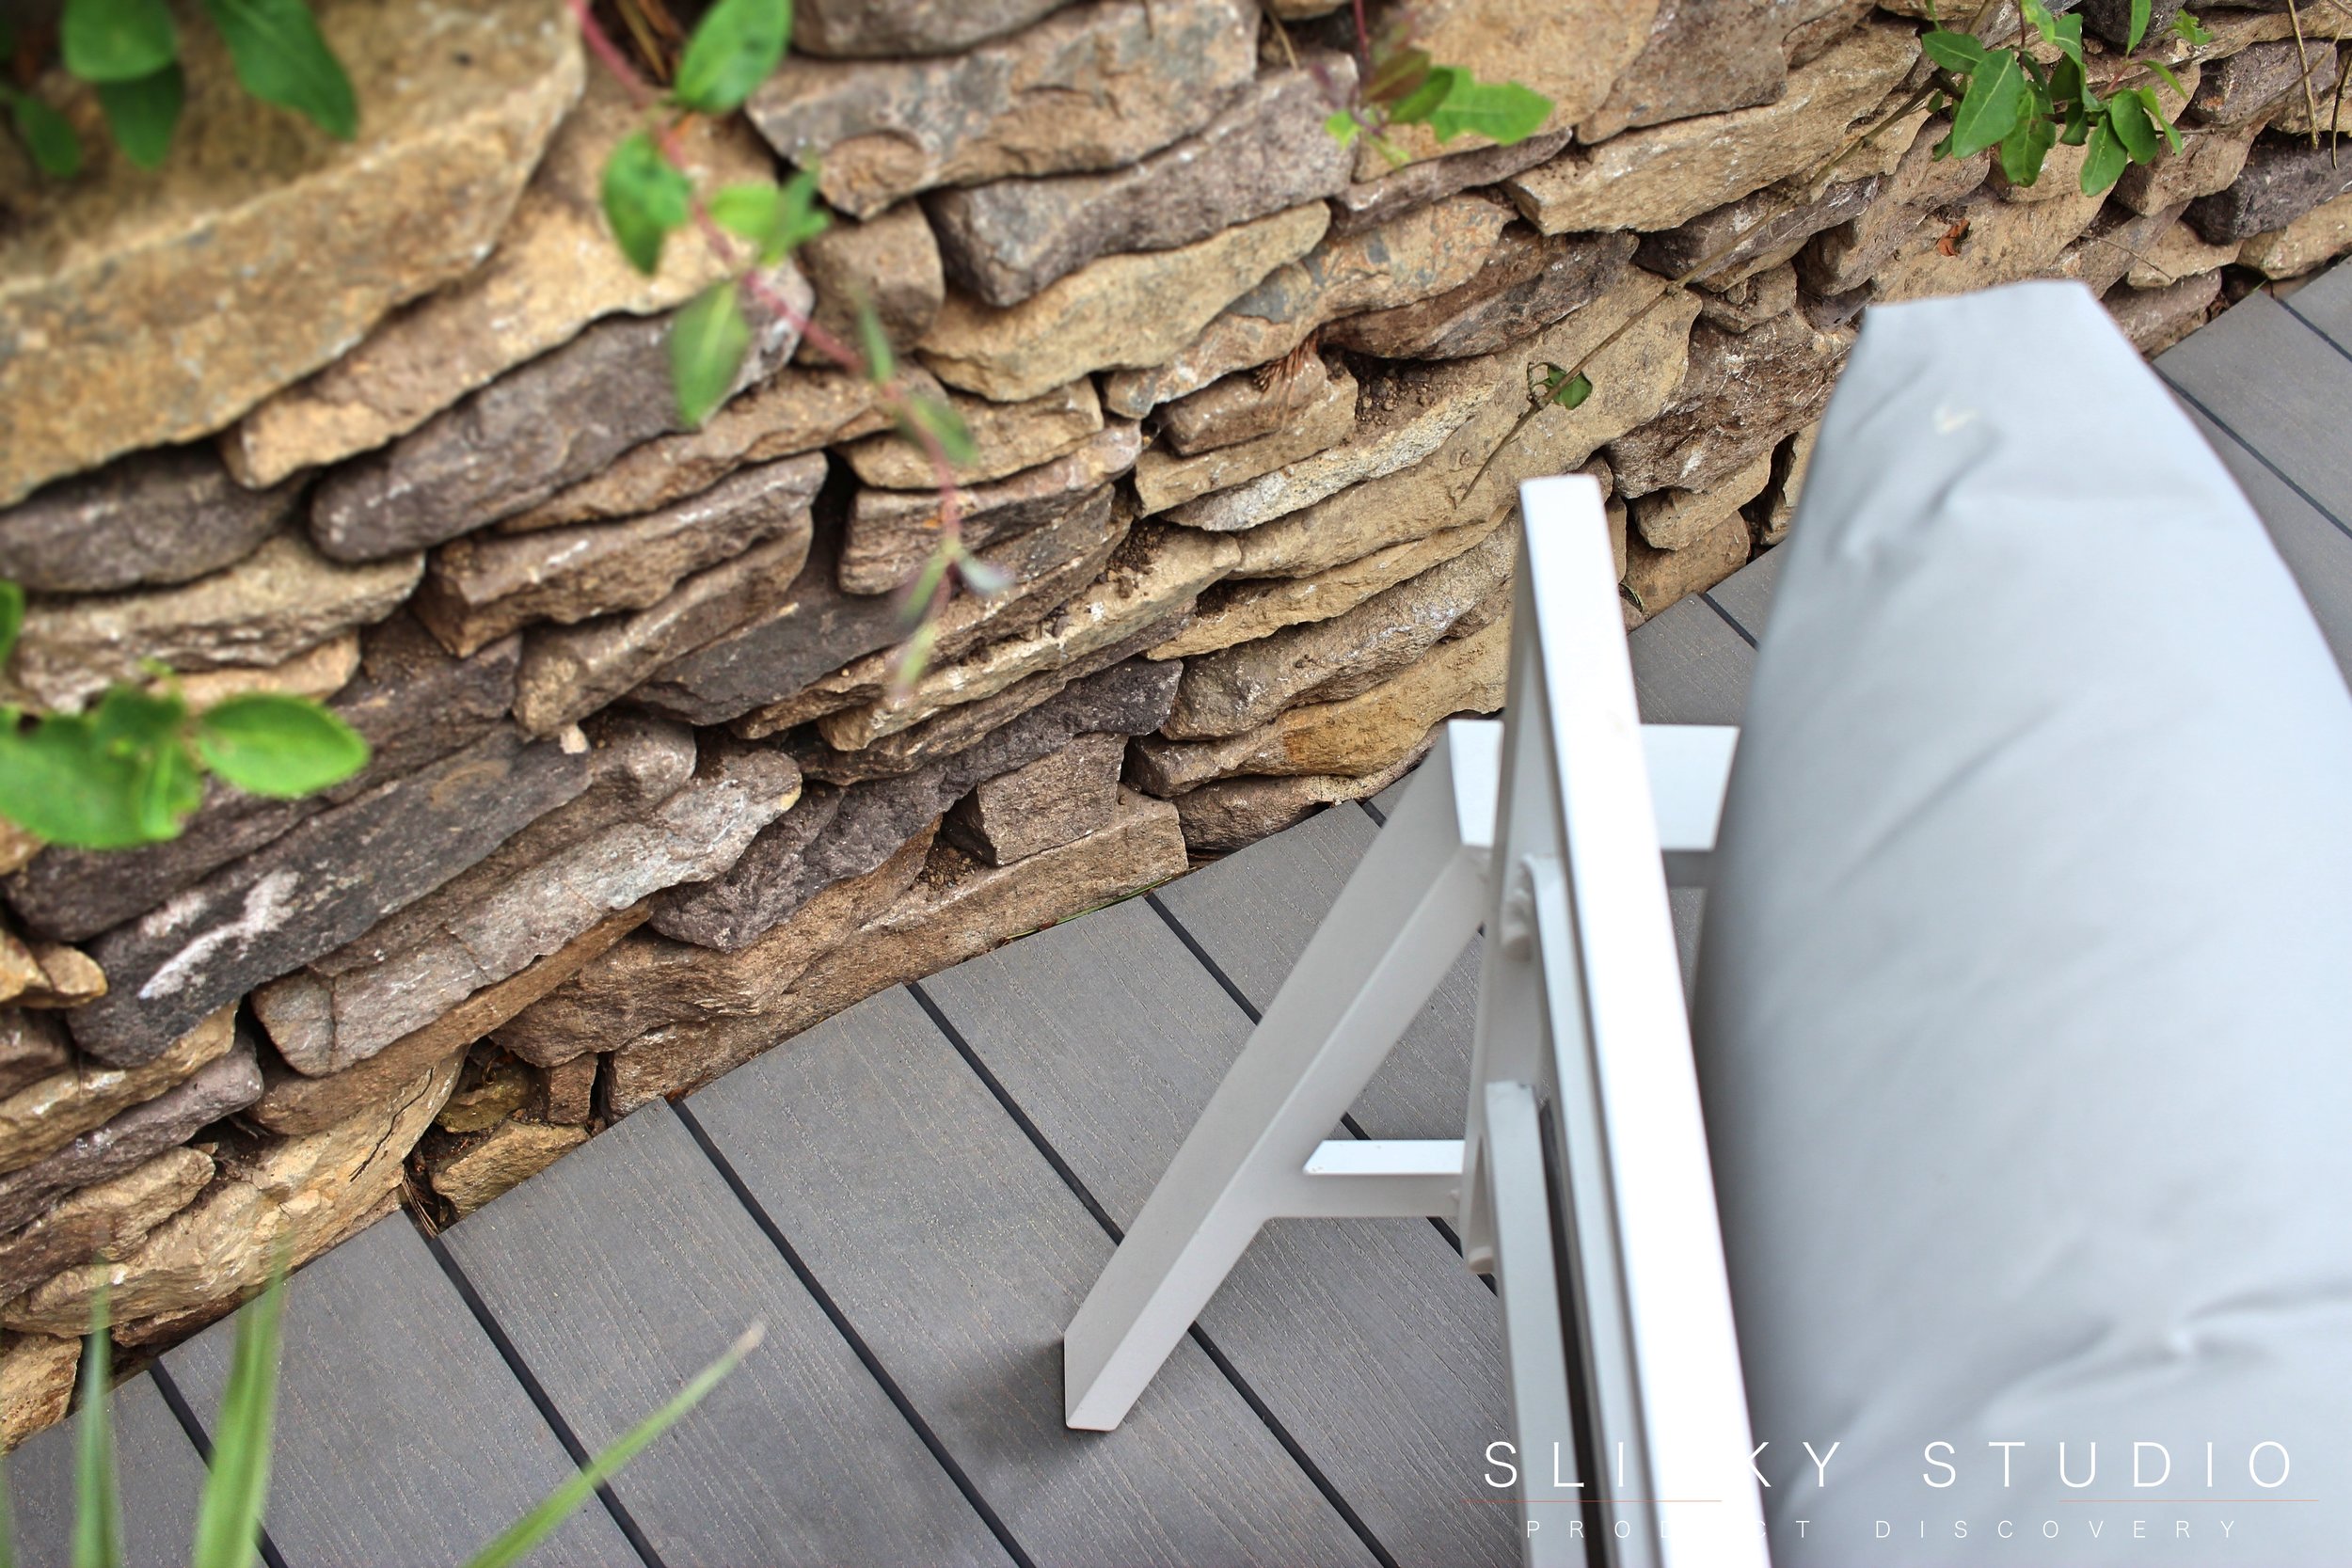
The simple idea of adding some decking can become quite a task if your land is sloping and covered in granite stones as ours is, but after considerable wheelbarrows full of soil and stone removal, and the building of some stone walls directly supplied from the very land we had dug, we arrived at a flat and solid ground surface on which to elevate our decking from. Once this was done we could work out the area size that the new decking must cover and thus how much decking we needed.
Composition and Sizes
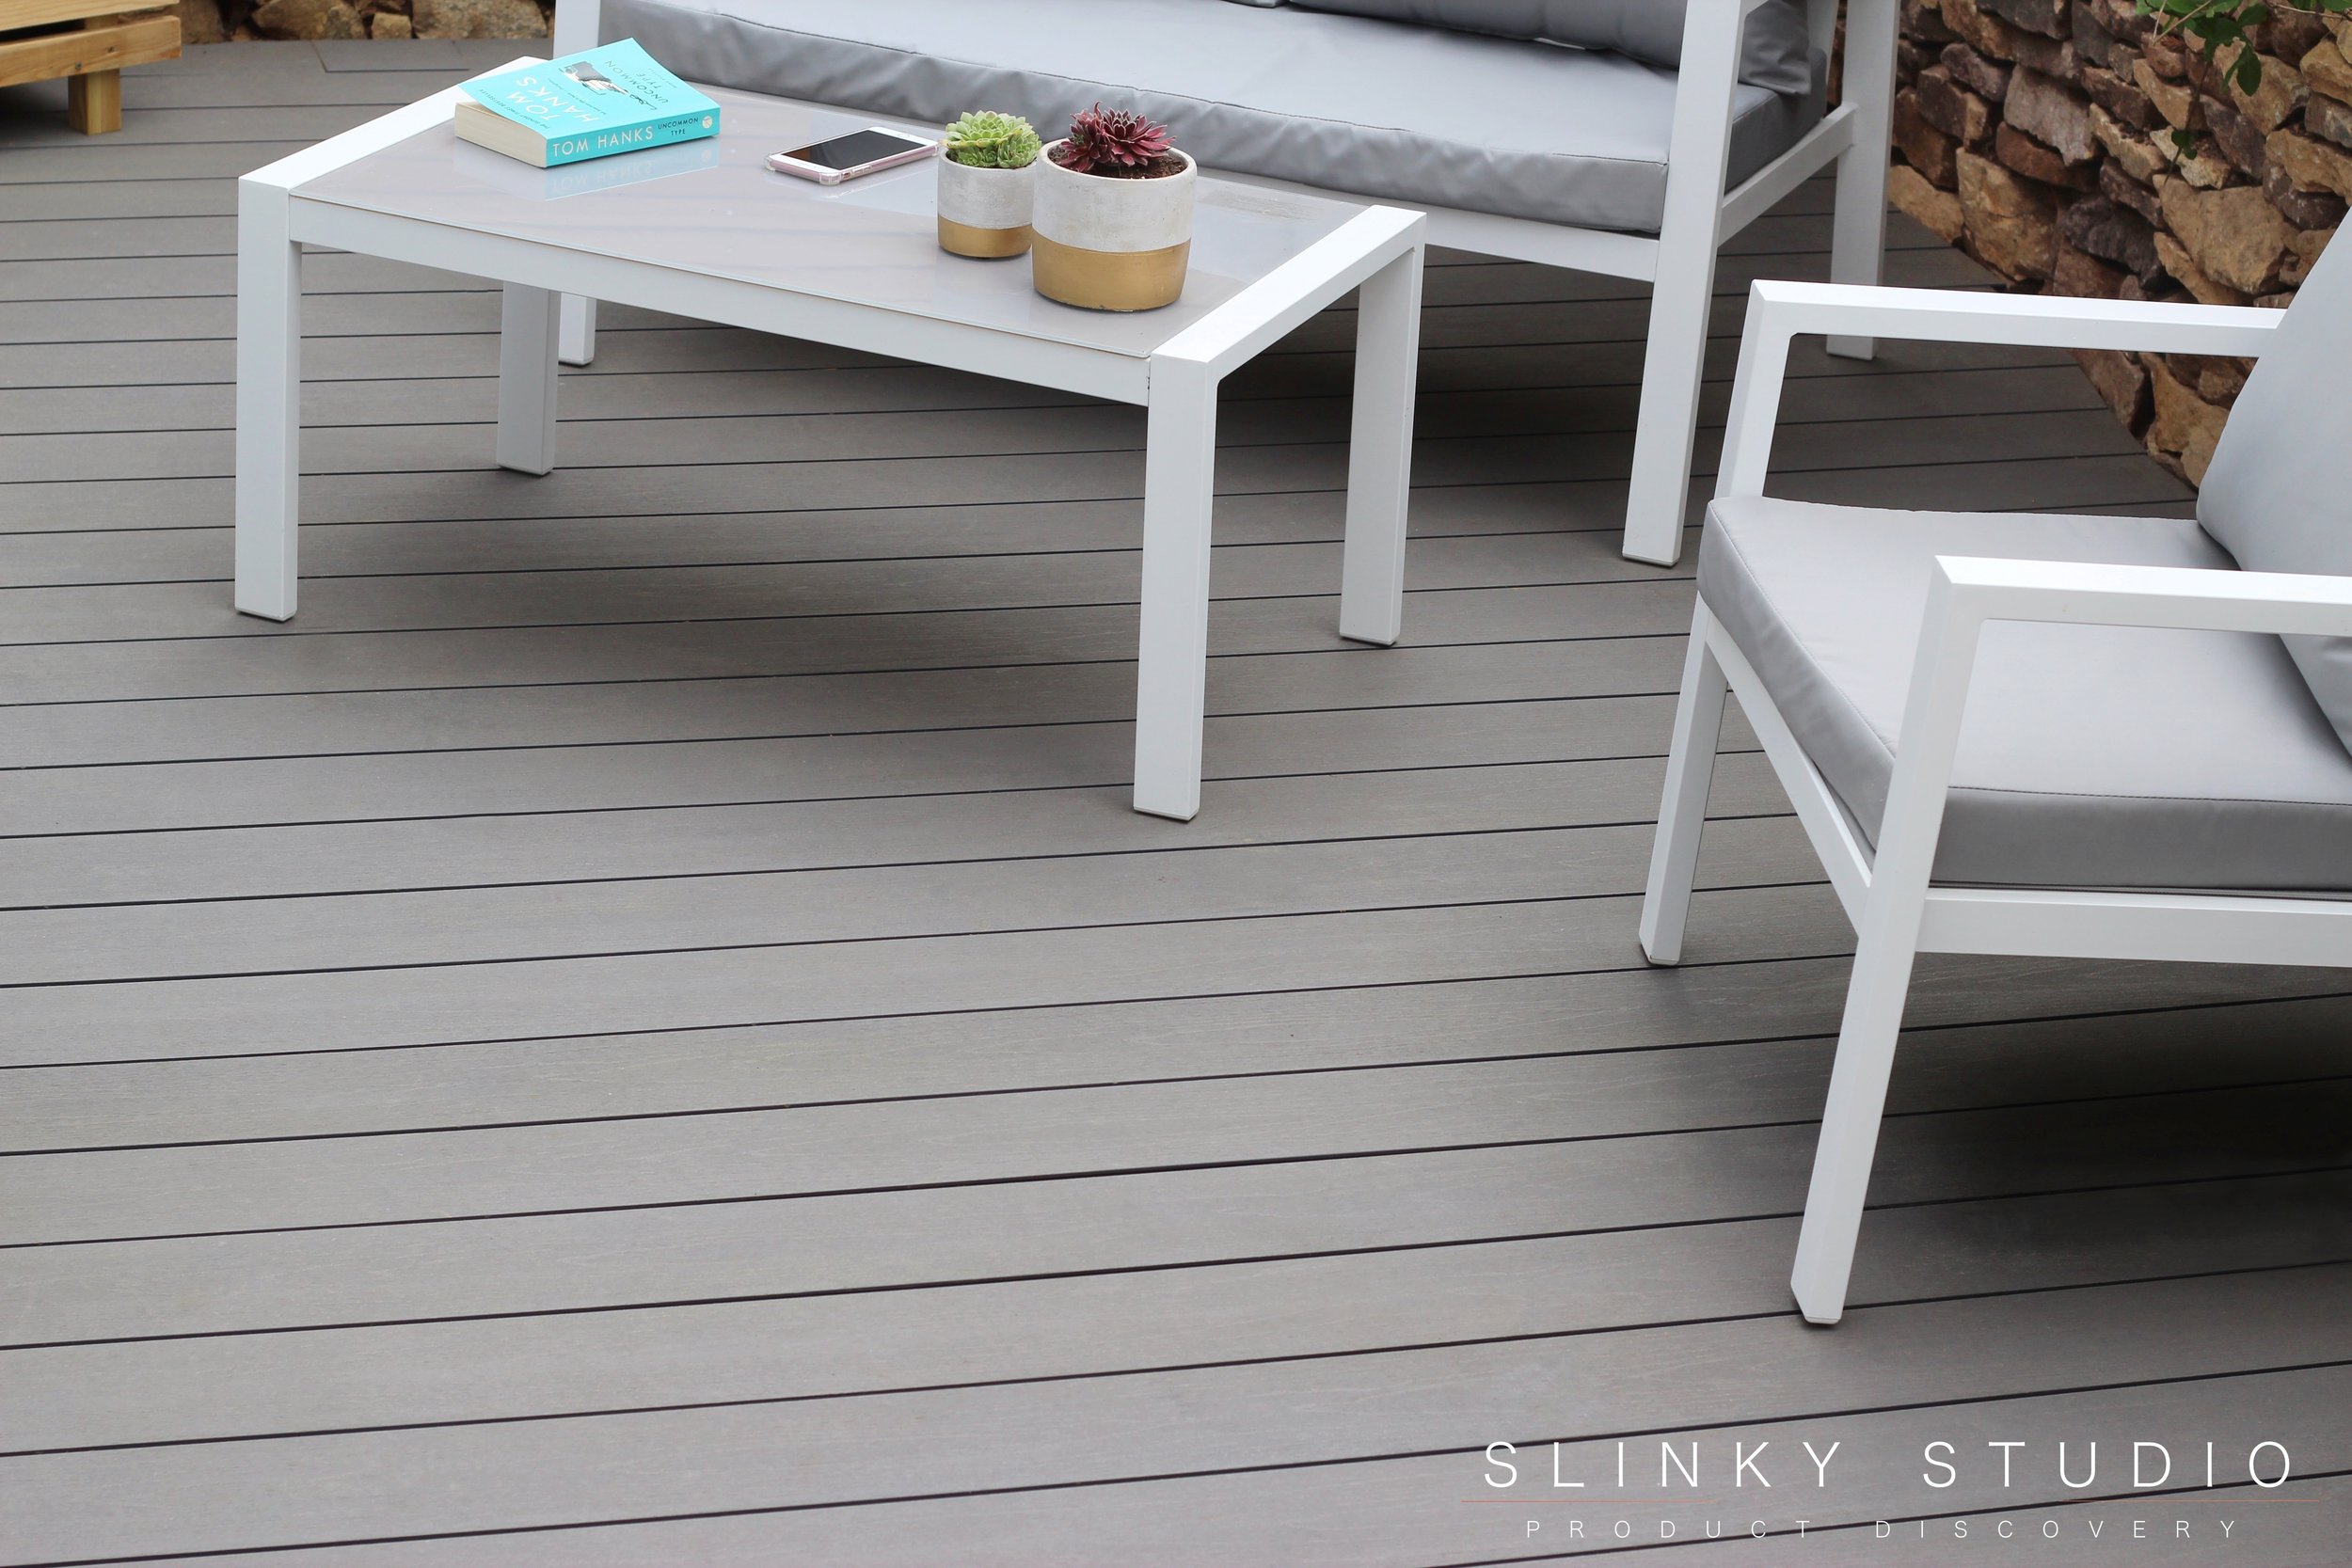
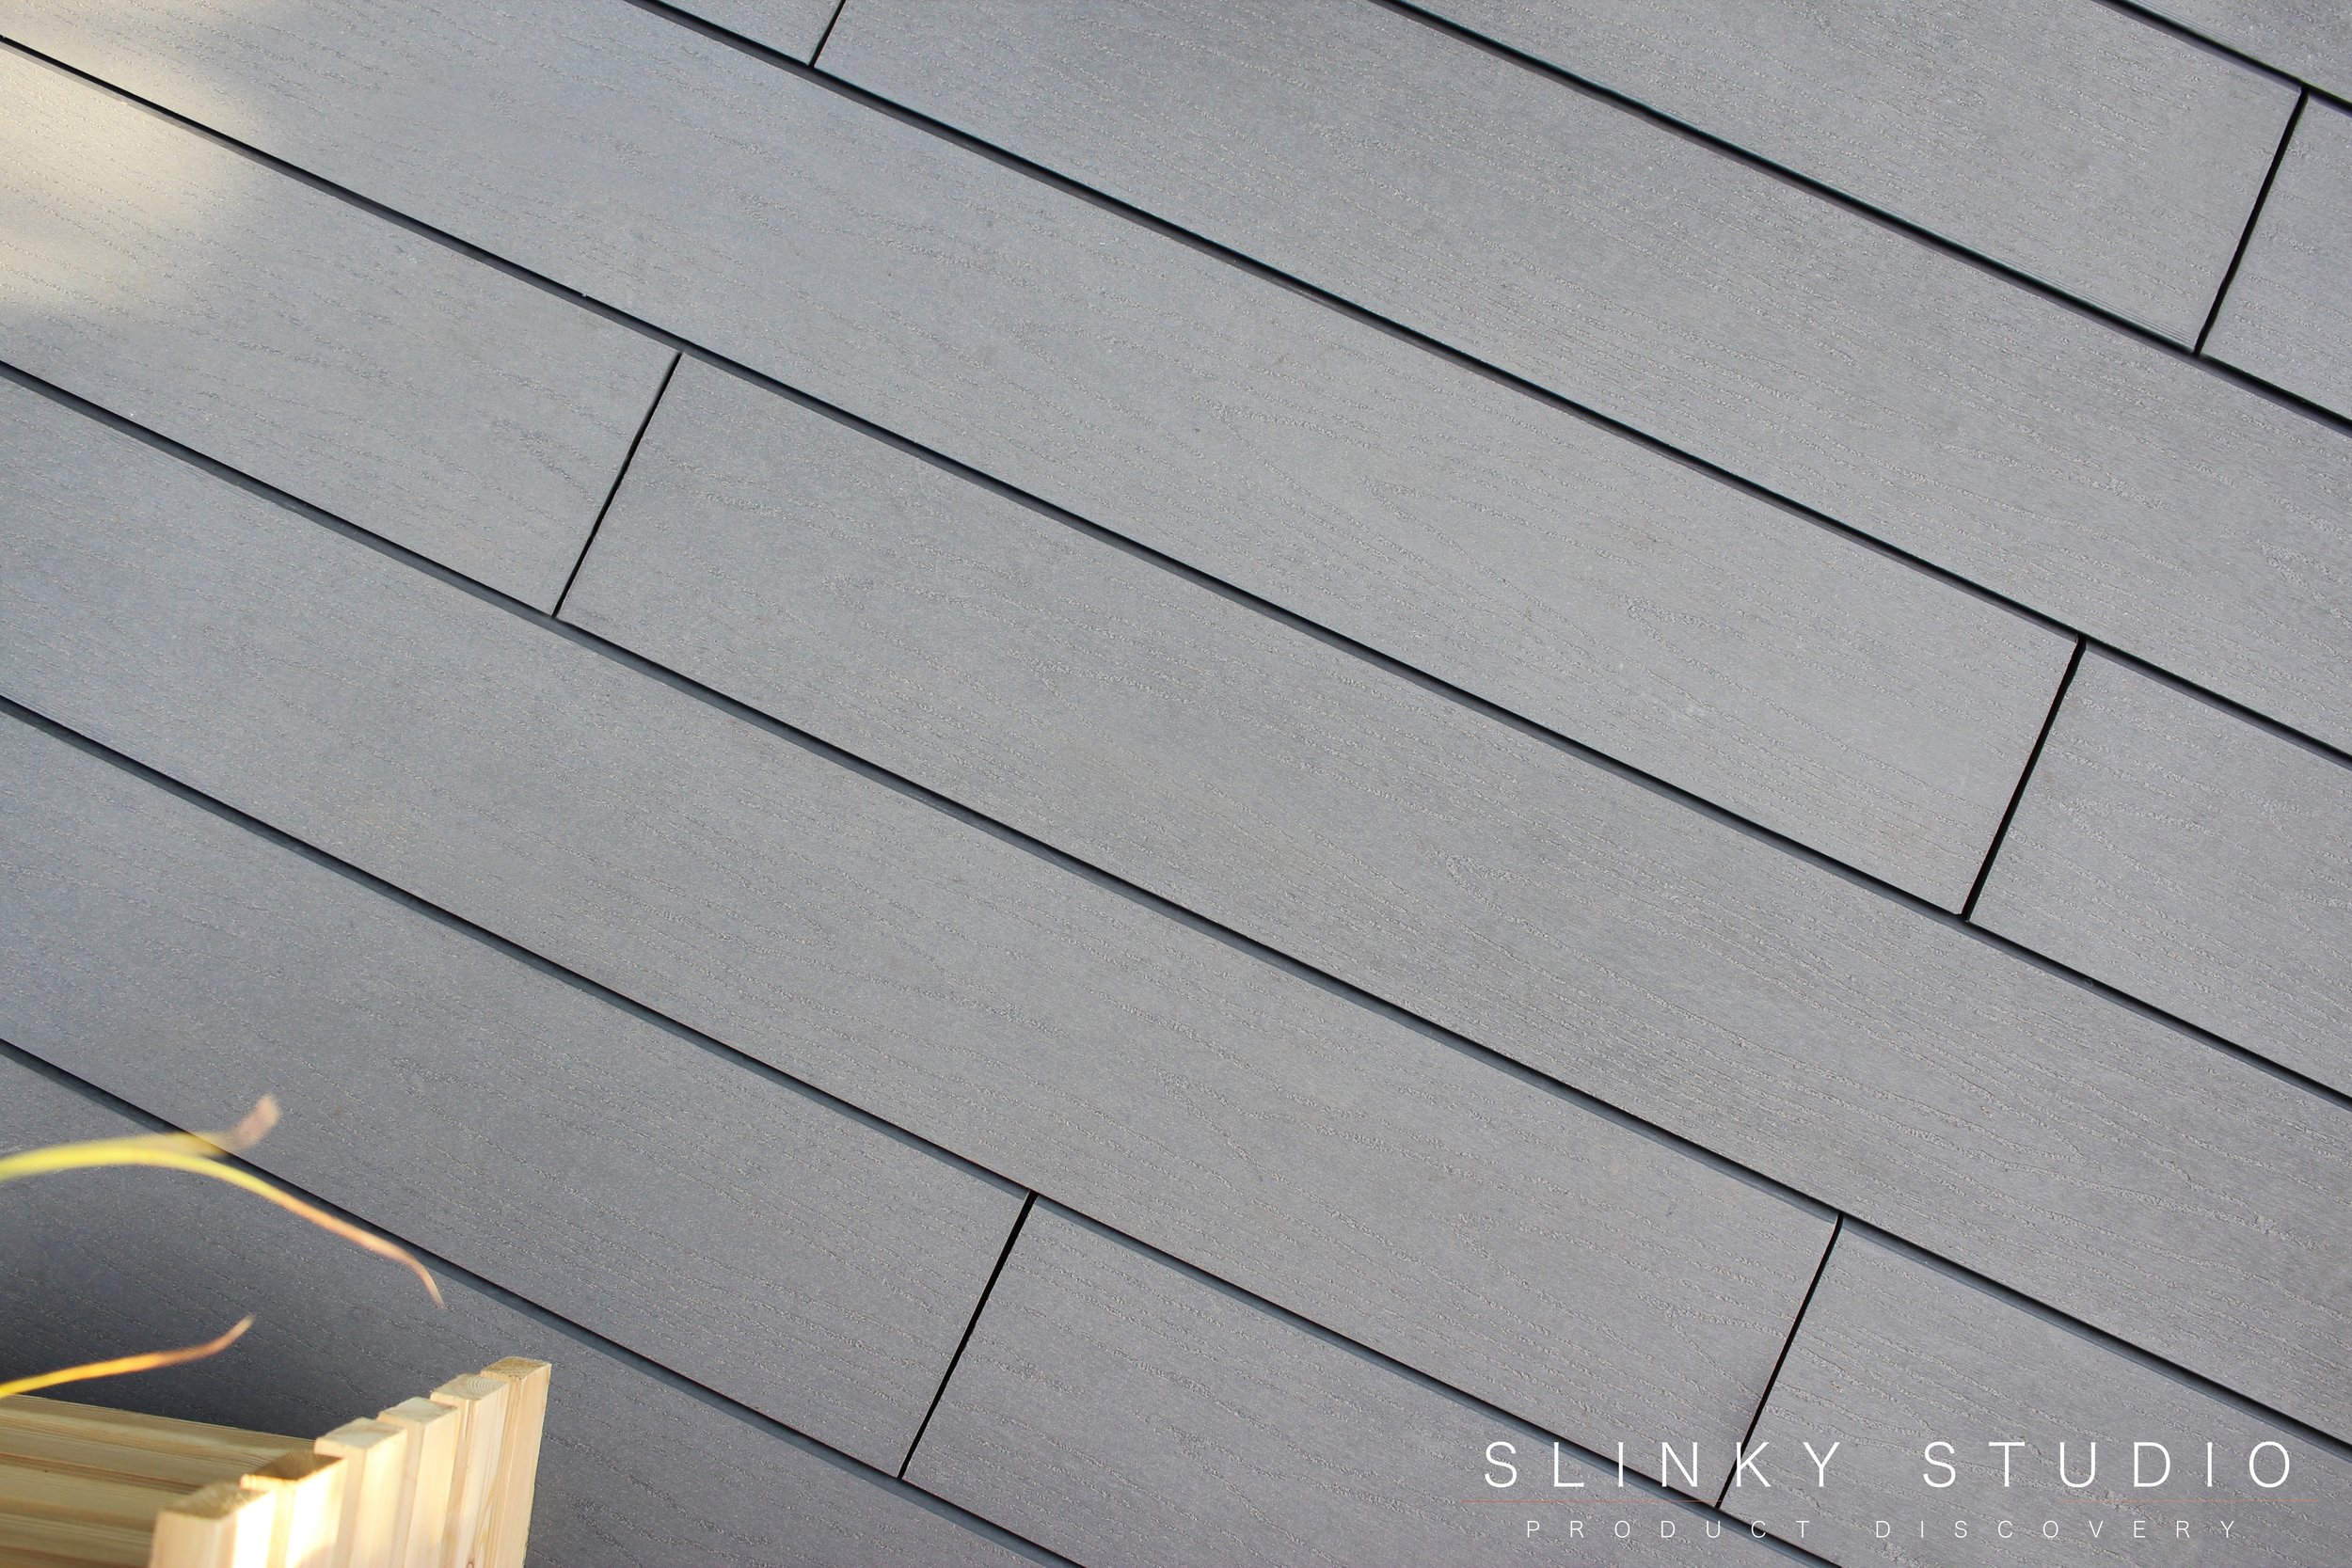
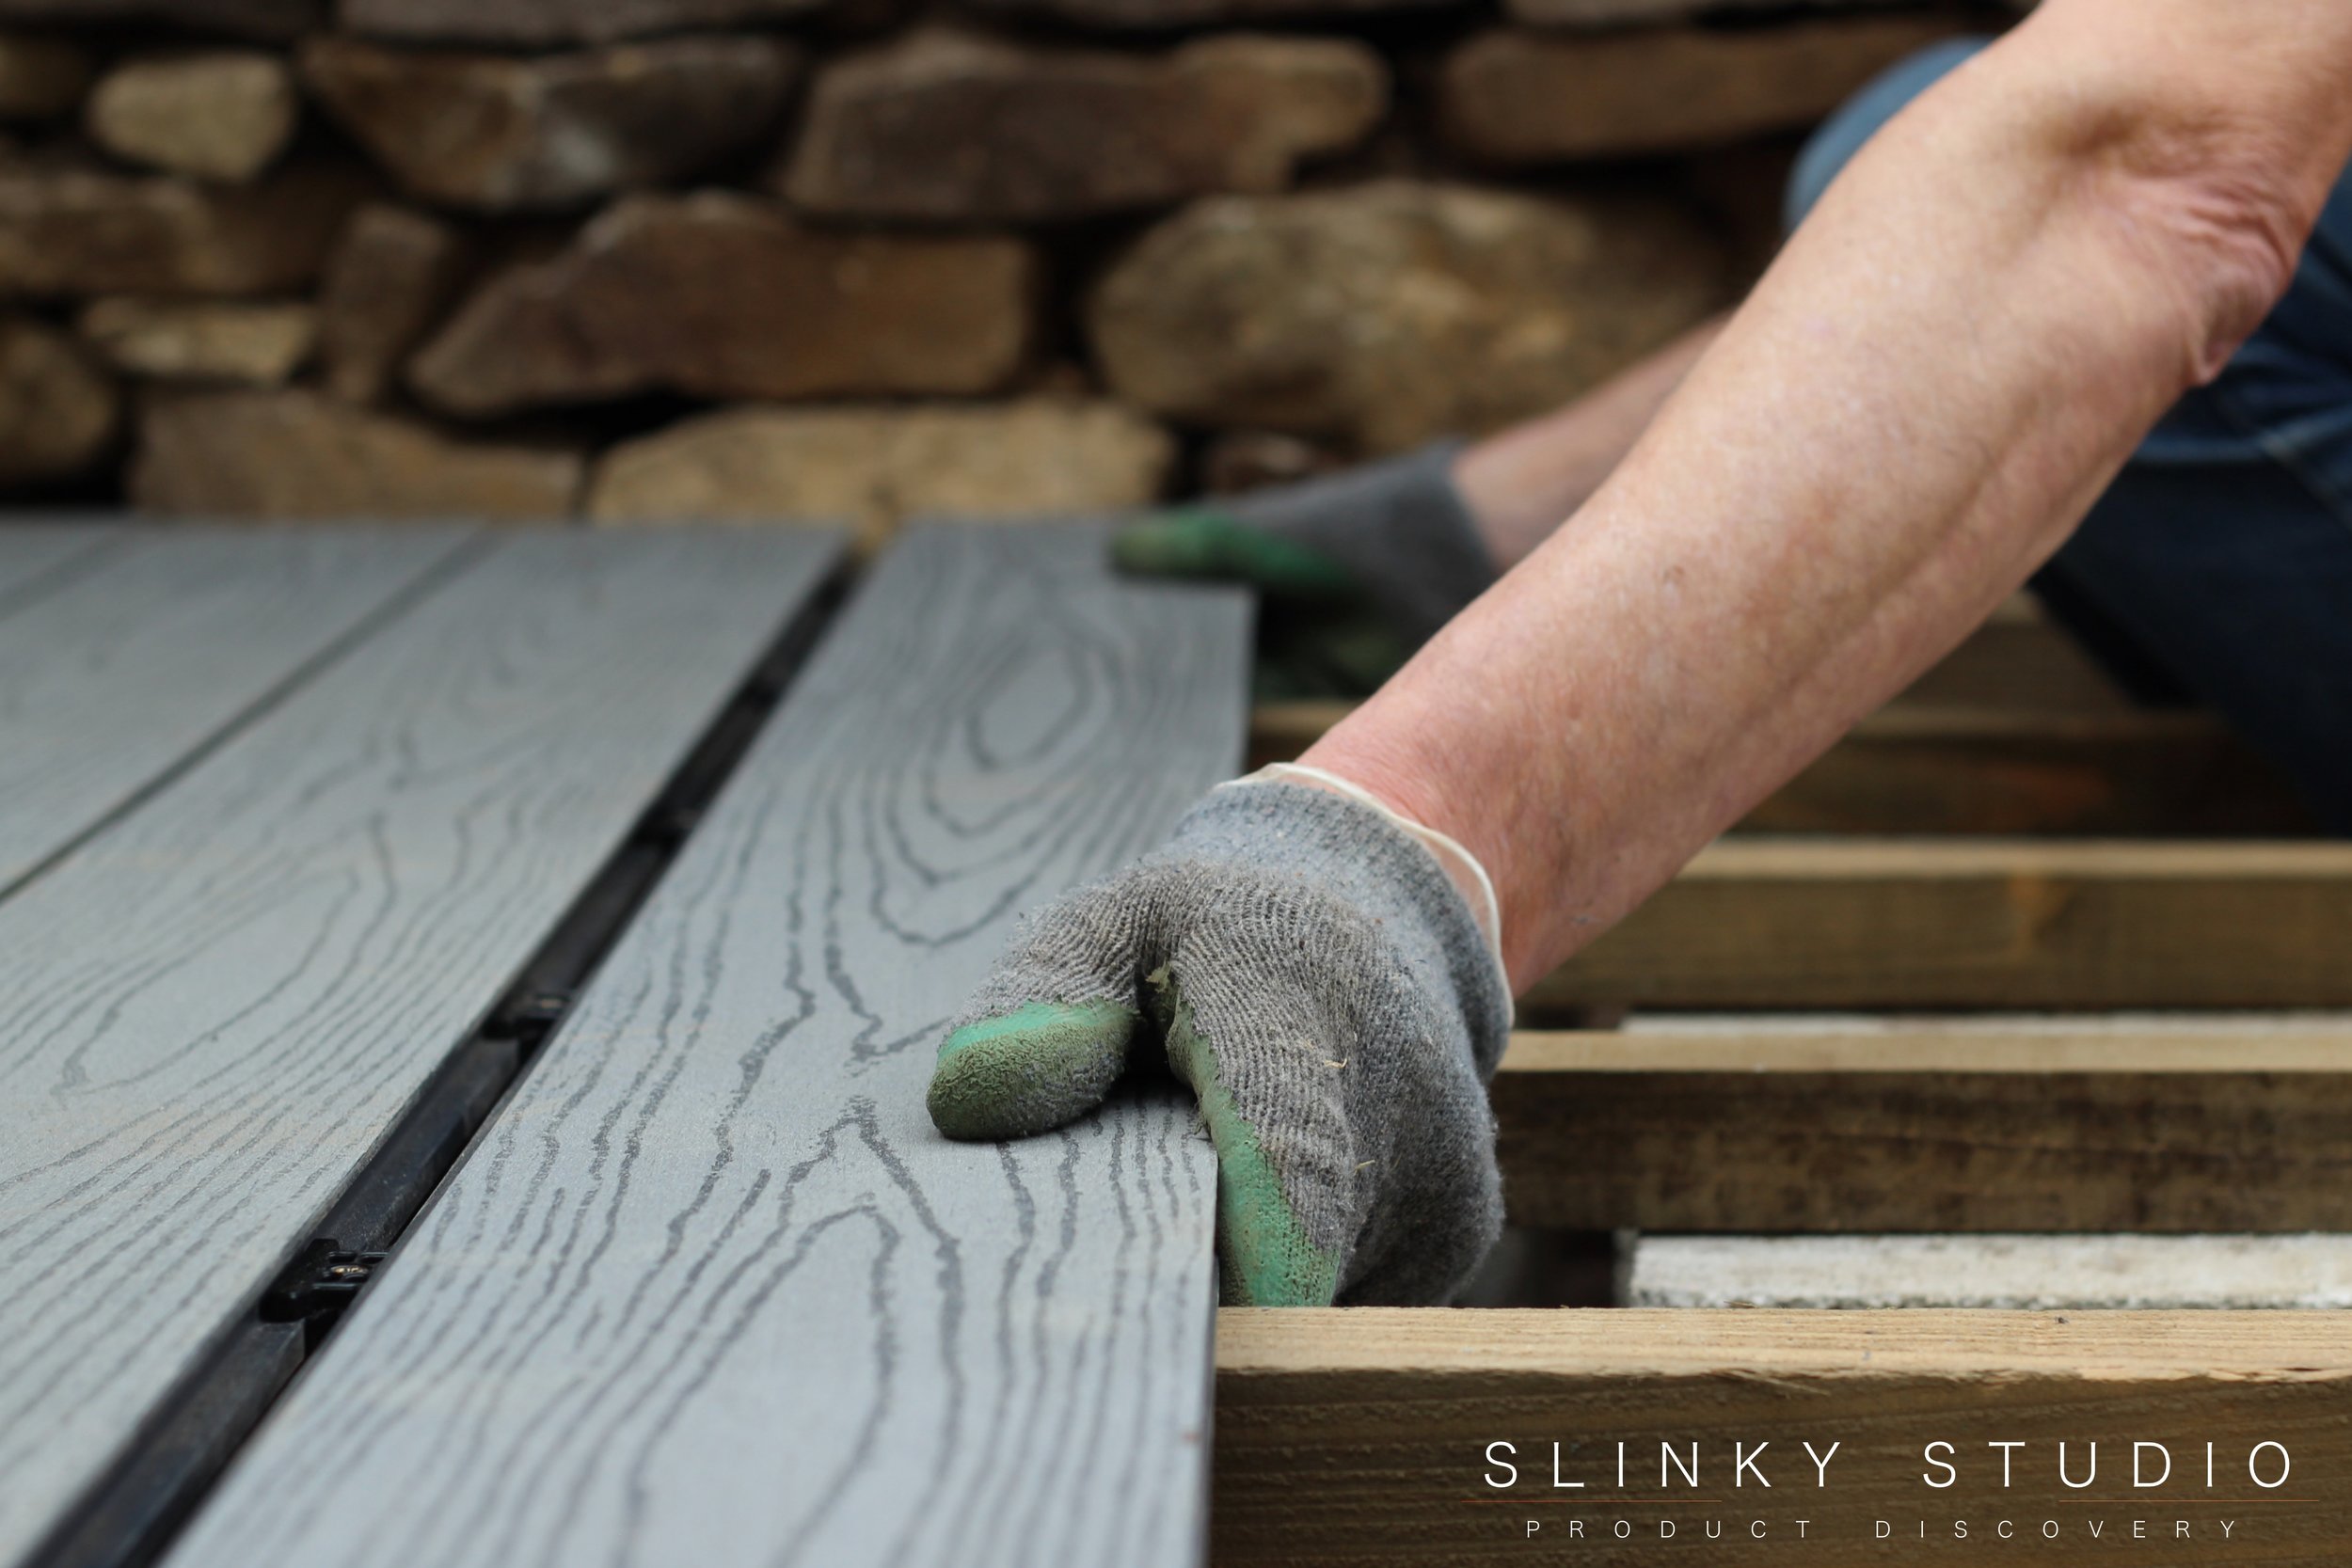
Havwood's Trekker composite decking boards are referred to as WPC which stands for Wood Plastic Composite. This means they are far denser and harder than the wooden alternative and automatically maintenance free. The material is also highly resistant to the growth of algae and completely anti-slip even when wet. The boards are supplied in a choice of three different finishes: fluted, grooved or wood grain, and each is available in four colours: anthracite, chocolate, new oak or vulcan. All Havwoods products are made from recycled and sustainable sourced materials, which is great to know, and nice that some plastic waste becomes something useful. We opted for the lighter grey of vulcan in a wood grain finish which we feel looks particularly suave, but it's good that Havwoods have a choice of fairly diverse colours. The Trekker boards are all 22mm thick, 143mm wide and 3200mm in length. This standardisation in size and length makes estimating the quantity of boards needed reasonably simple.
On delivery the first thing we noticed is just how solid and heavy these Trekker composite decking boards are. They are considerably more solid and dense than wood, but also than other composite boards we have compared them with. Whereas some boards have large notches taken out the length to lighten them and save on material, these are not compromised in that way. Right from the first sight you appreciate that Havwoods have made them to put up with years of wear and tear, and to lie solidly in place so long as your foundations and installation have been correctly completed first.
Preparation for Installation
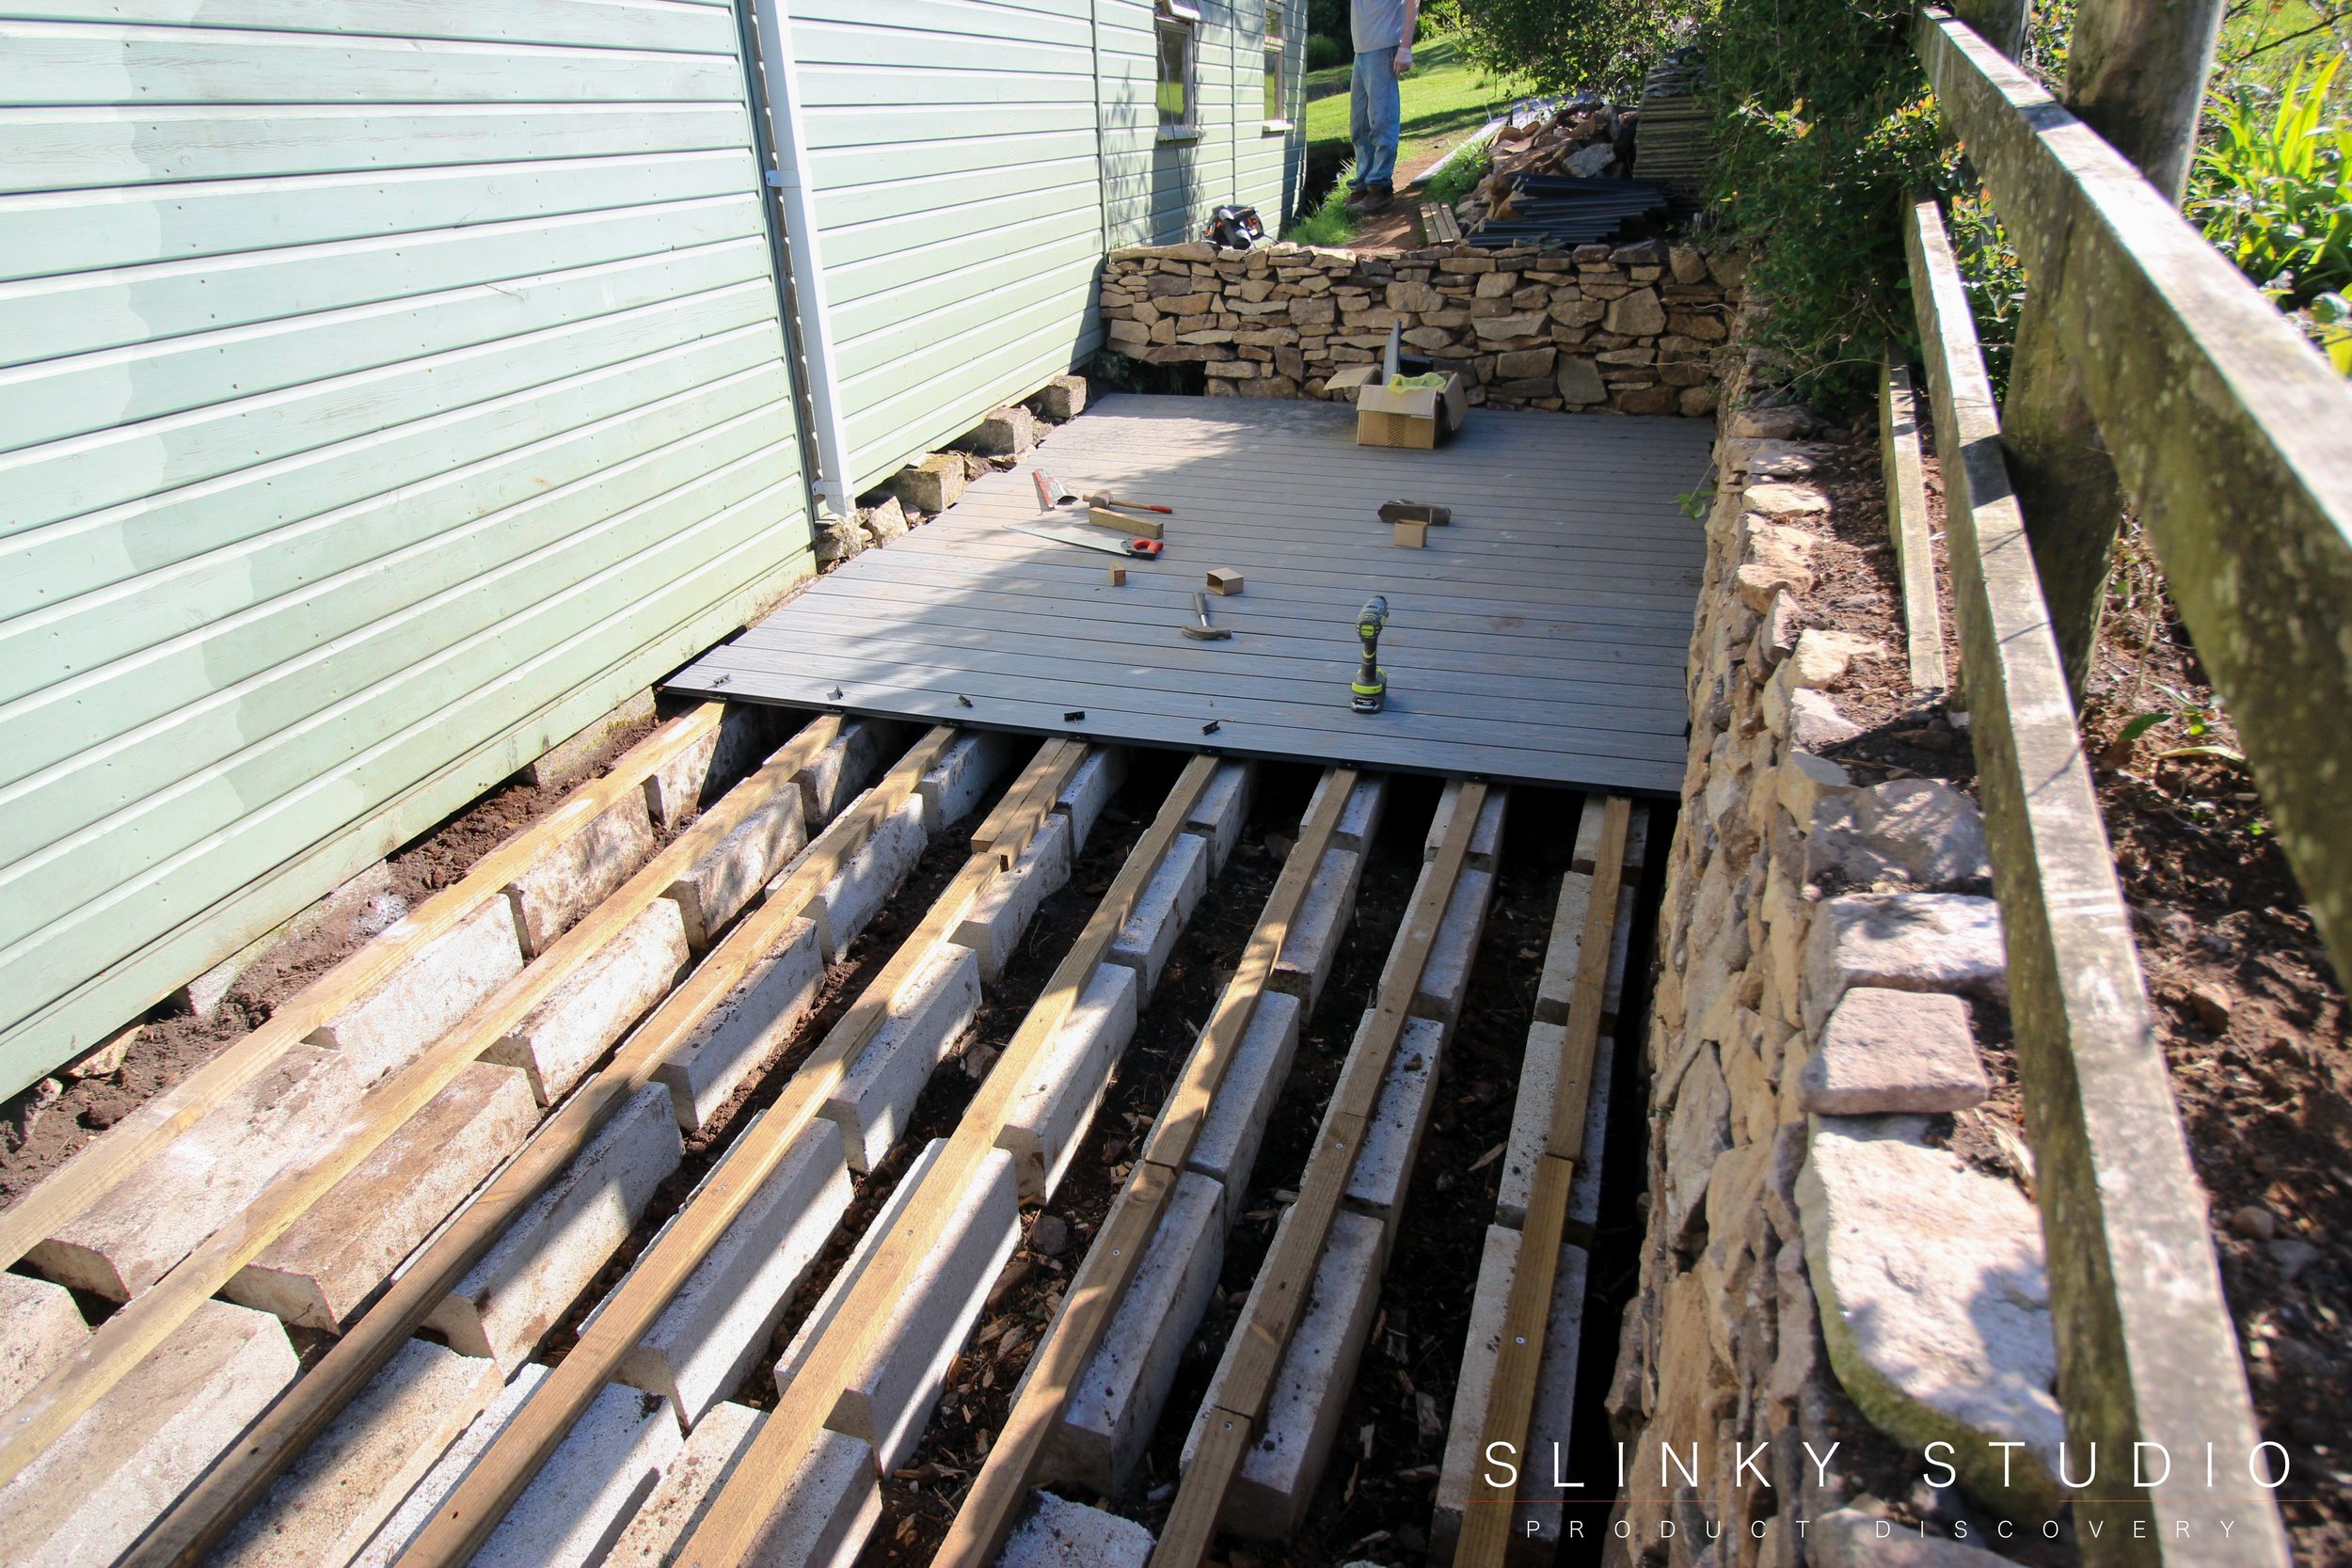
One difference between installing composite decking boards rather than wooden boards is in the preparation. Composite boards are very dense, but they are flexible, so it is imperative that they are held between closer joist points than less flexible wood would require. However, the timber joists do not need to be as thick as those used for wooden boards, as long as the joists themselves are fixed solidly in place. Havwoods installation guide is very clear and easy to understand. Joists must be fixed to a structural cementitious base and held in place every 500mm, the joists must be at least 30mm deep with a 50mm face. As our ground is solid hardcore, we opted to use concrete blocks as our base and fastened our treated timber joists securely to these. The distance between the centres of the joists should be a maximum of 300mm, so because our area is a slightly eccentric shape we had to occasionally stagger the joists to make sure we complied with this guideline. There is no doubt that the preparation is time-consuming, but the effort to get this right is definitely important and worthwhile if you want a good-looking and long lasting deck.

How to Lay/Install Composite Decking
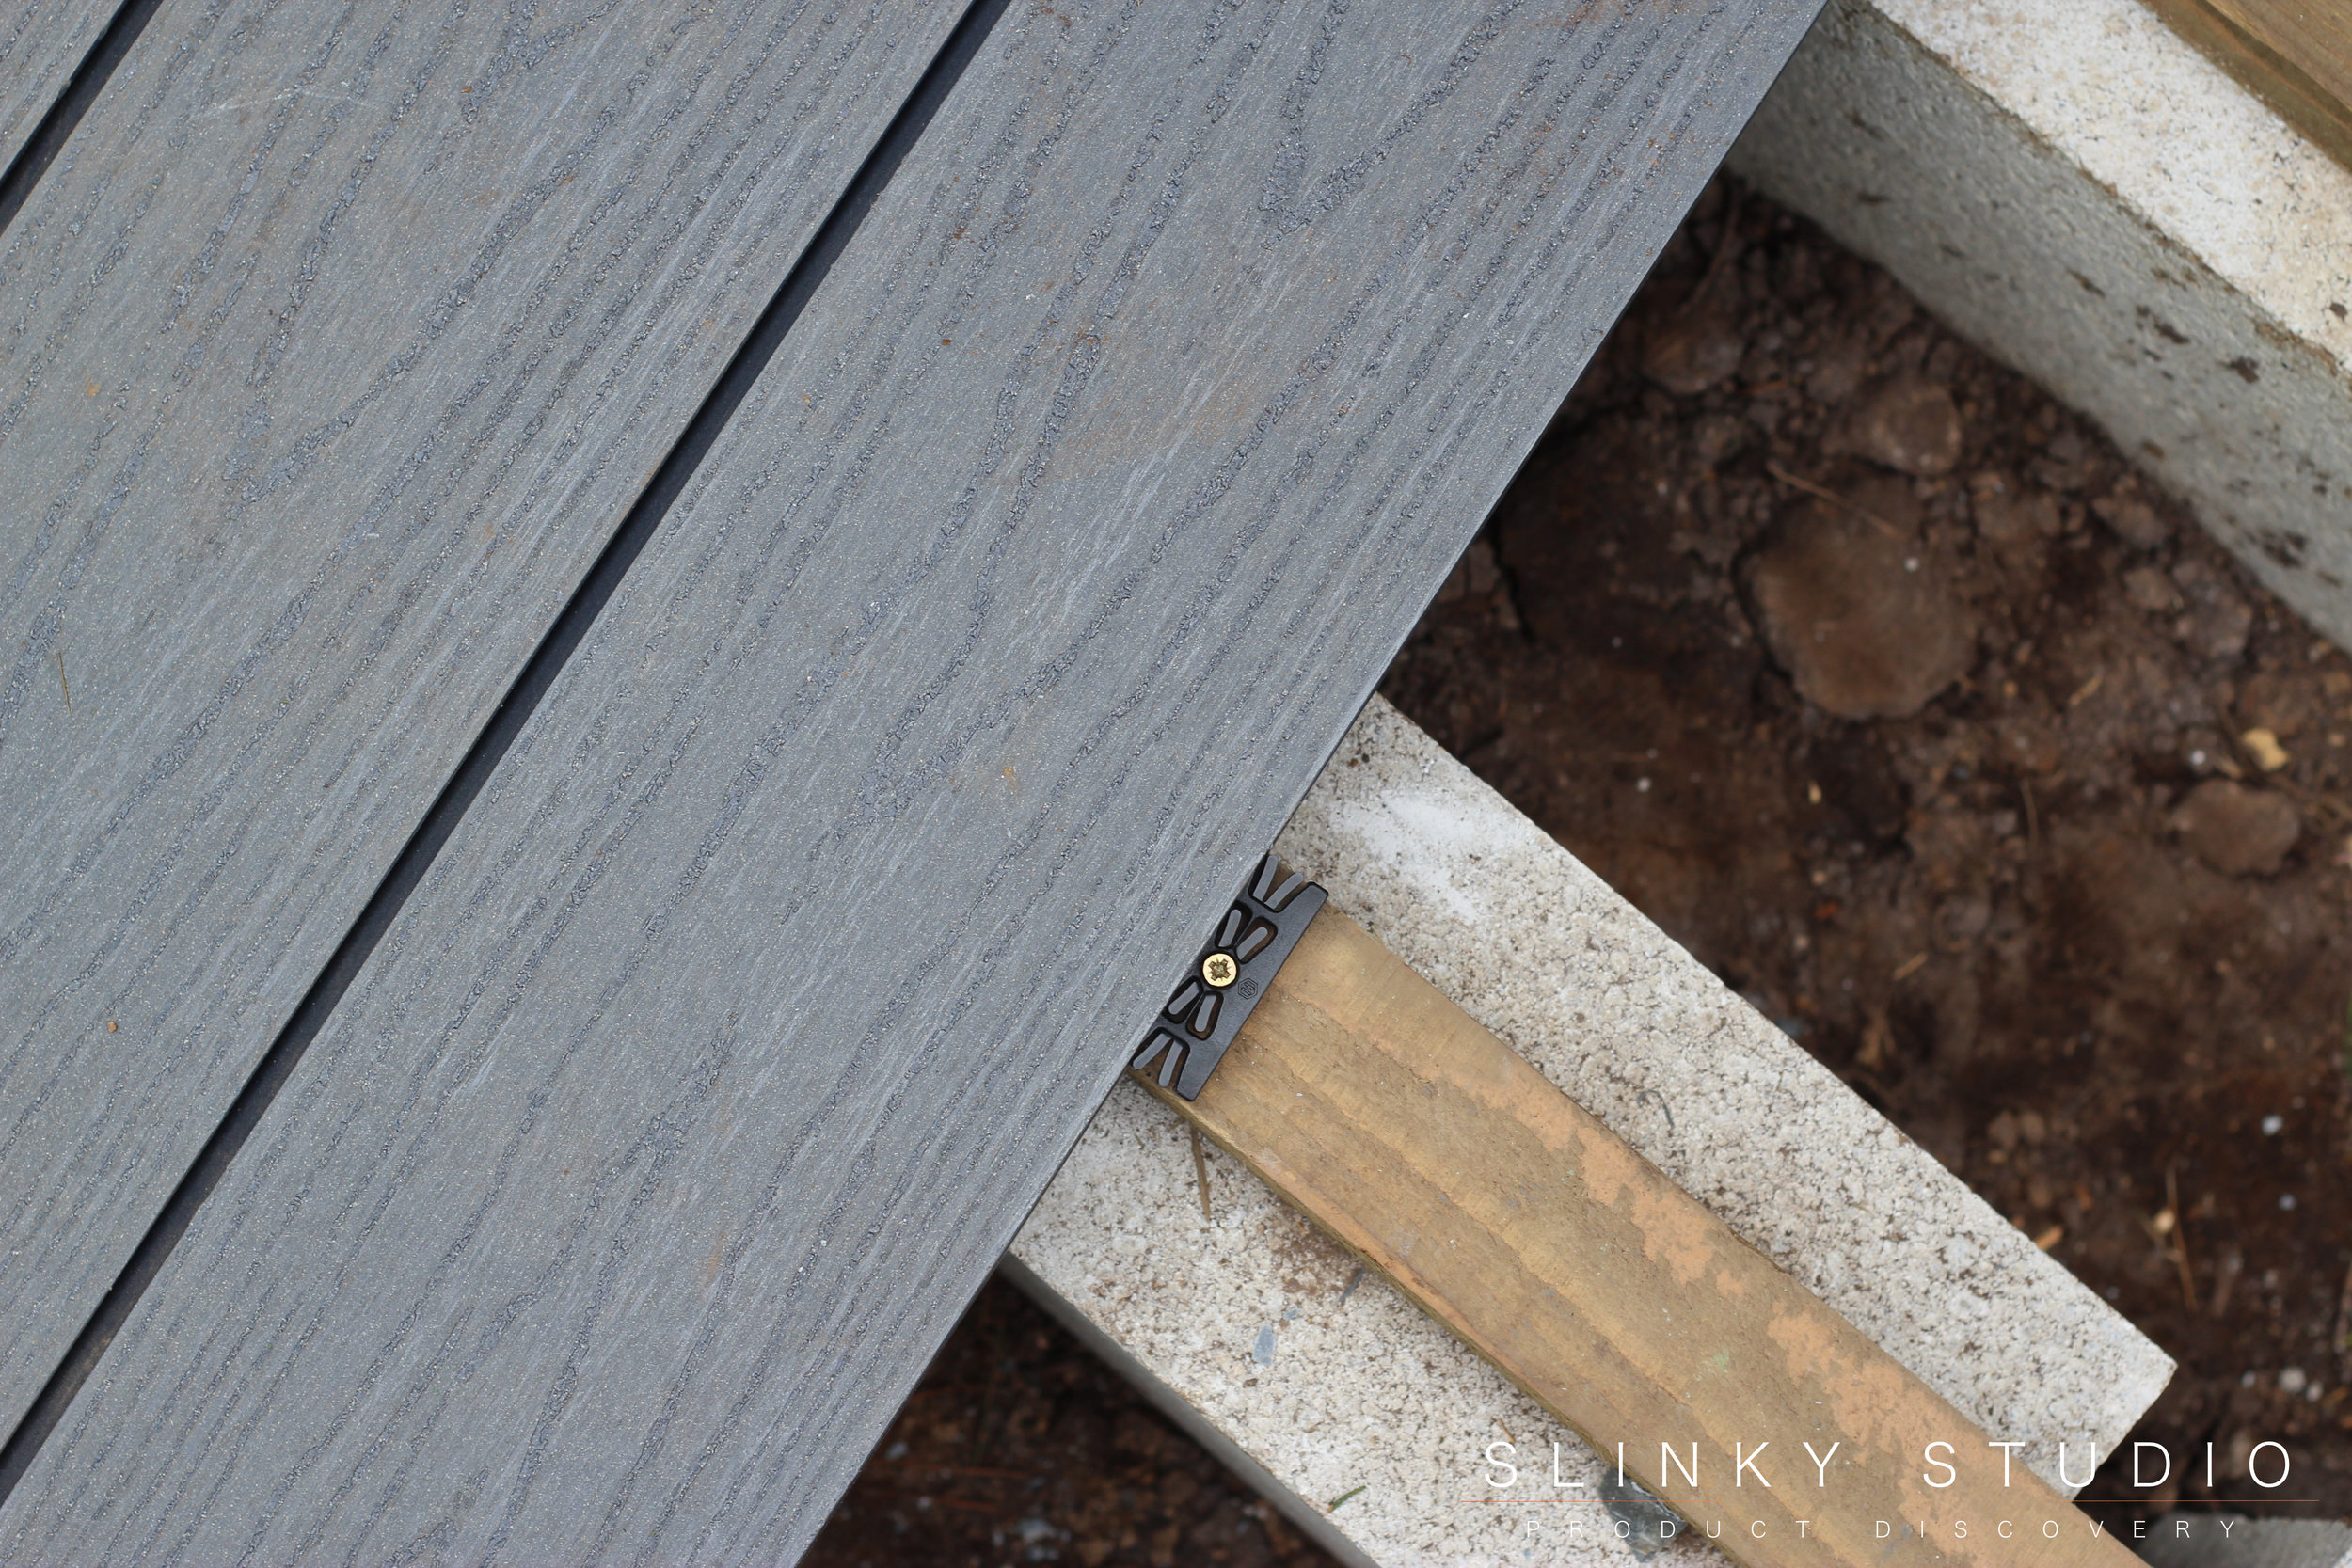
Now at last we could actually start laying our Trekker decking. Obviously the first task was cutting a length to fit and this really was simple using a handheld circular saw; at least as easy to cut as wood, and worth noting is the fact that the board is coloured the same throughout, not just a top coating. We placed this first piece across the joists and then used the supplied Havwoods fixings to fasten it to each joist. These single screw plastic fixings are a doddle to use and make the laying of the boards a clean and easy process. The next board then slides onto the back of the fixing and is ready to have its clips screwed in place. You do not ever screw or nail directly through the boards; the clips and design of the Trekker boards hold the decking securely and in perfect alignment. The truth is that after all the work clearing and setting up the base, actually laying the boards is so simple. The fastening clips, all being at most 300mm apart, space the boards in the right place, so no need to worry about the gaps as you would with wooden decking. Where two ends meet you simply double up with the clips and leave a 6mm to 8mm gap between; although obviously the space should be over a joist.

Finishing Off & Adding Steps
We've already mentioned how easy the Havwoods Trekker decking is to cut with a circular saw, but it also cuts smoothly with a handsaw, and can be shaped if necessary using a jigsaw. The material is not at all brittle, like some other brands of composite decking, which makes it much simpler to shape. Before we started we had no idea what this type of composite decking would be like to work with, but now all our fears have been removed and we realise it is very easy to use, and actually laying the boards is quicker and simpler than with wooden decking. Because of this we were able to run the decking around the trunk of a tree and cut it to shape around the granite in our walls. We also needed to add steps to our decking and, after fixing some step risers in place, found the shaped Trekker 'stepnosing' supplied by Havwoods worked perfectly for this purpose. Again, the clever fixing clips hold this in place and allow for a cut piece of board to be fastened behind and under to make up a solid step. The other surprising thing is that once the boards are down and fixed - you've finished! You step back and there's nothing to do - no coating with oil, no staining - you have a lovely finished deck which is secure and weatherproof from the minute it has been fastened down.

A Finished Project
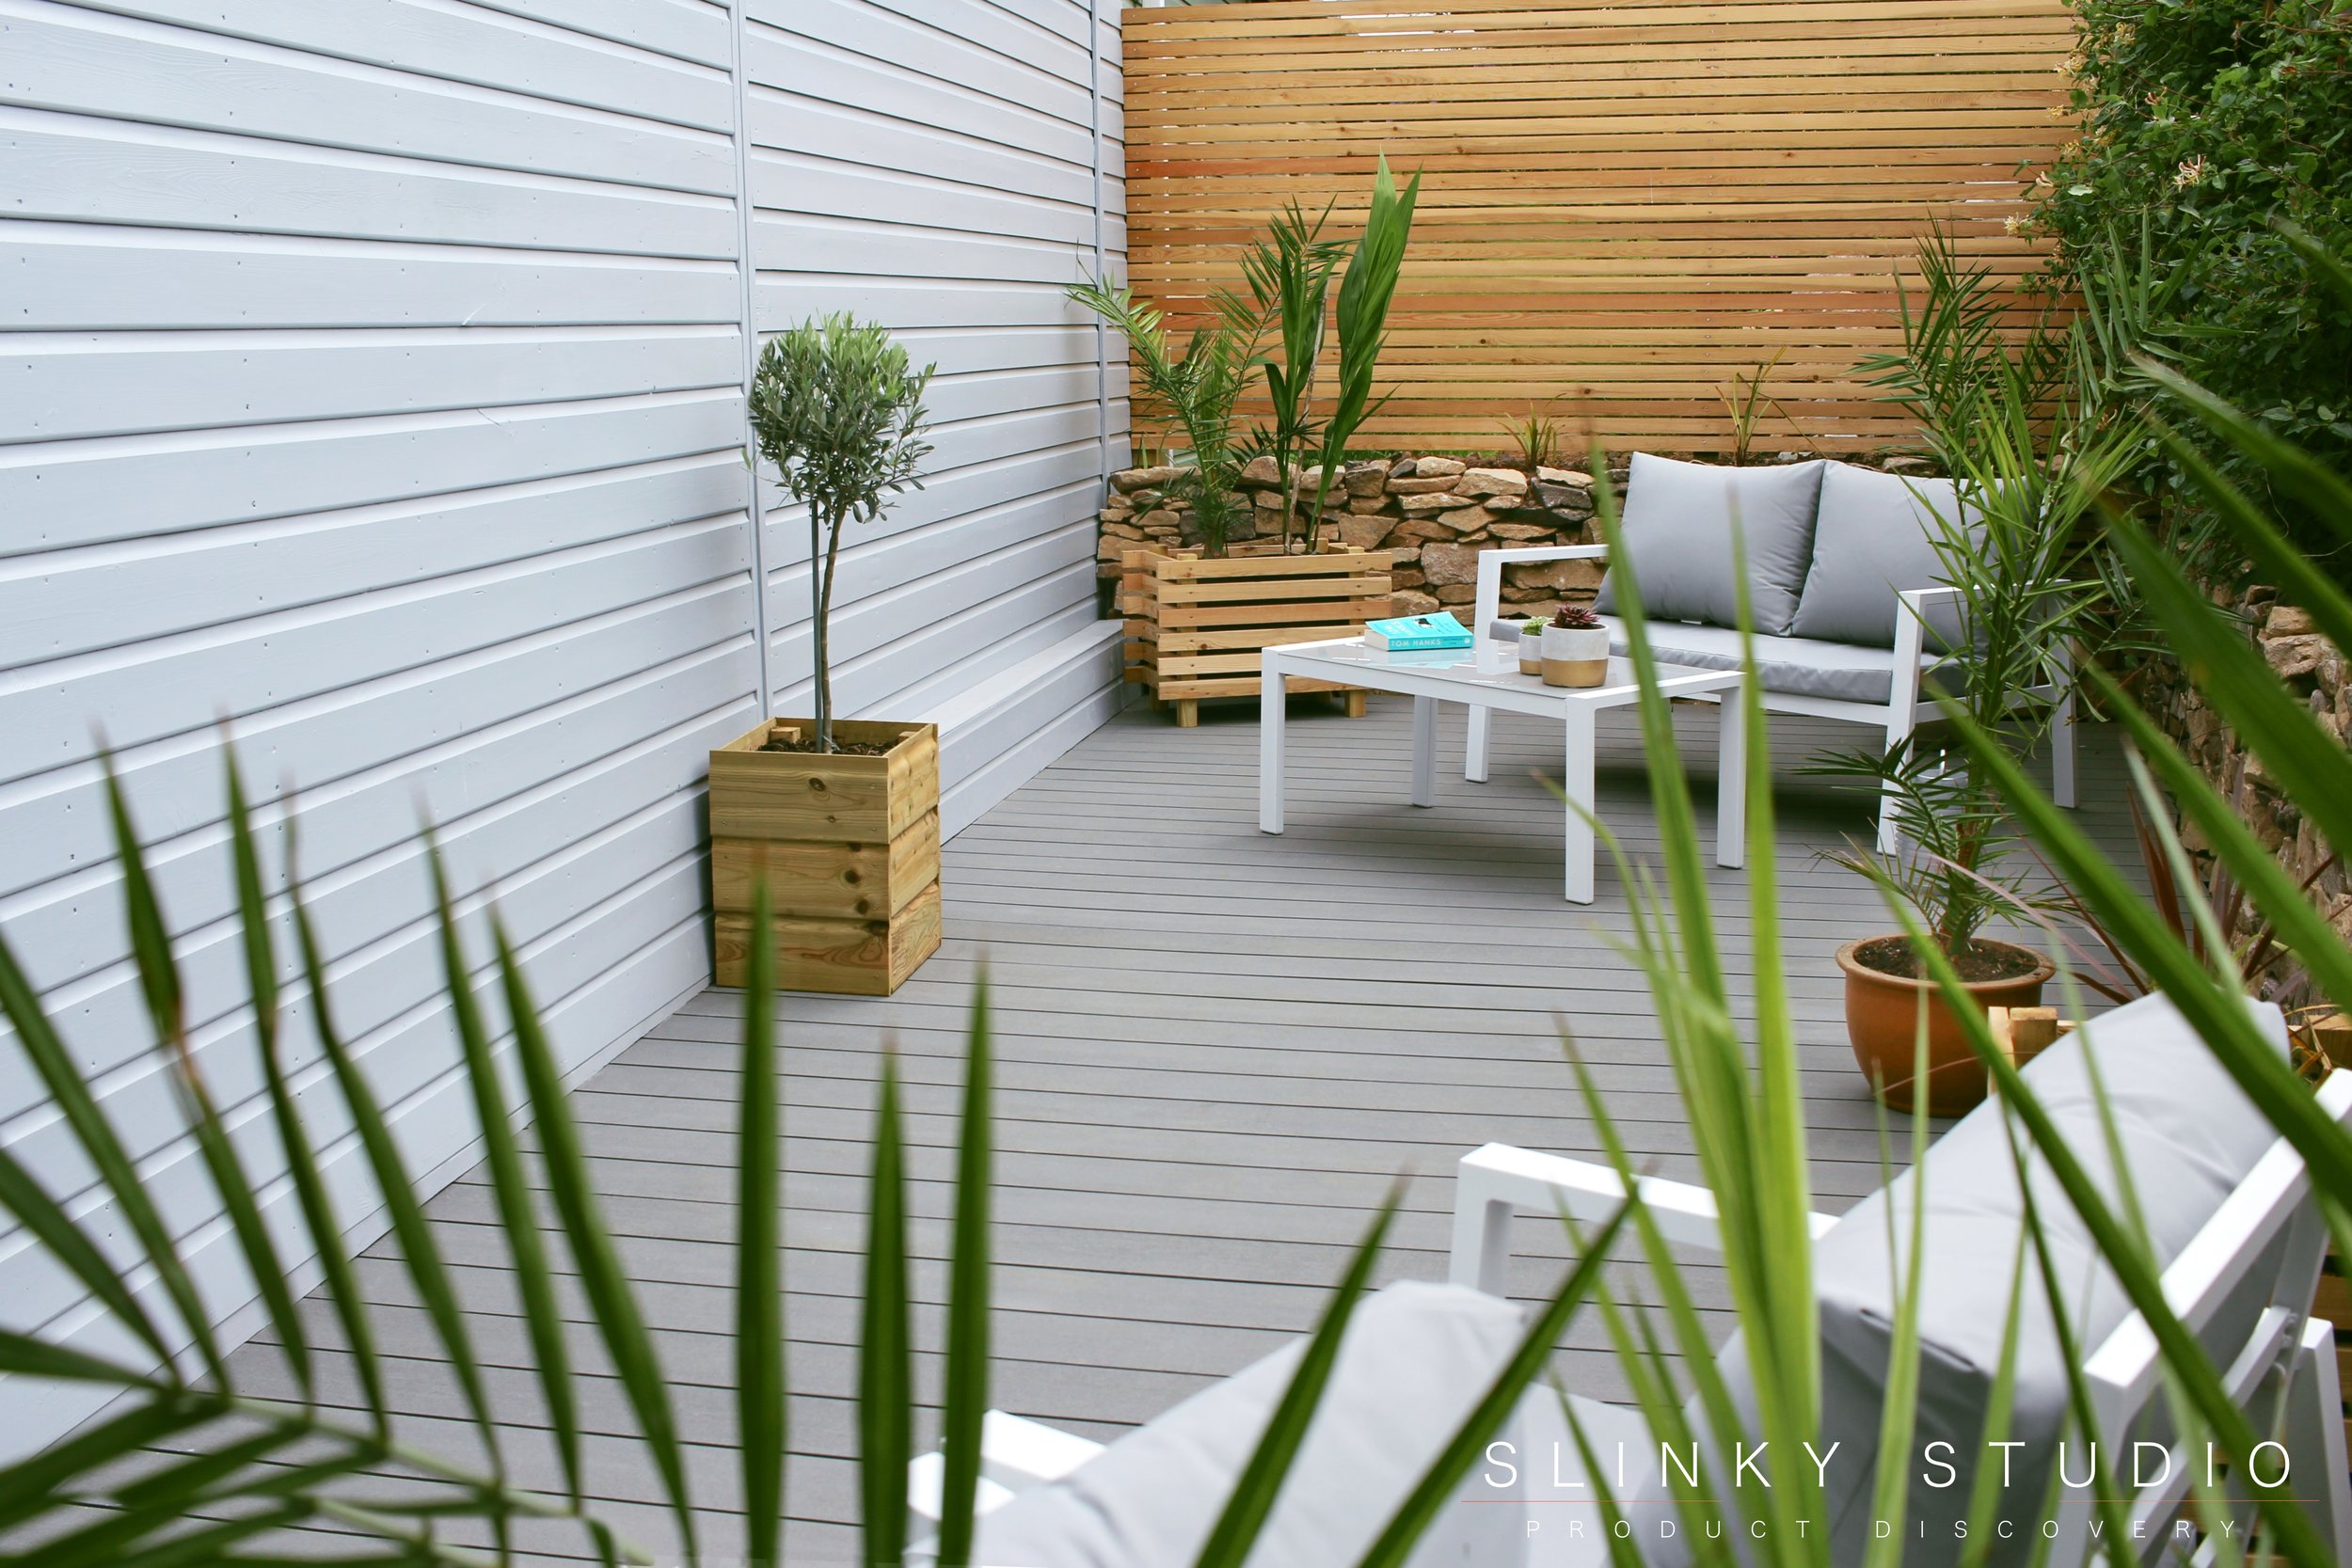
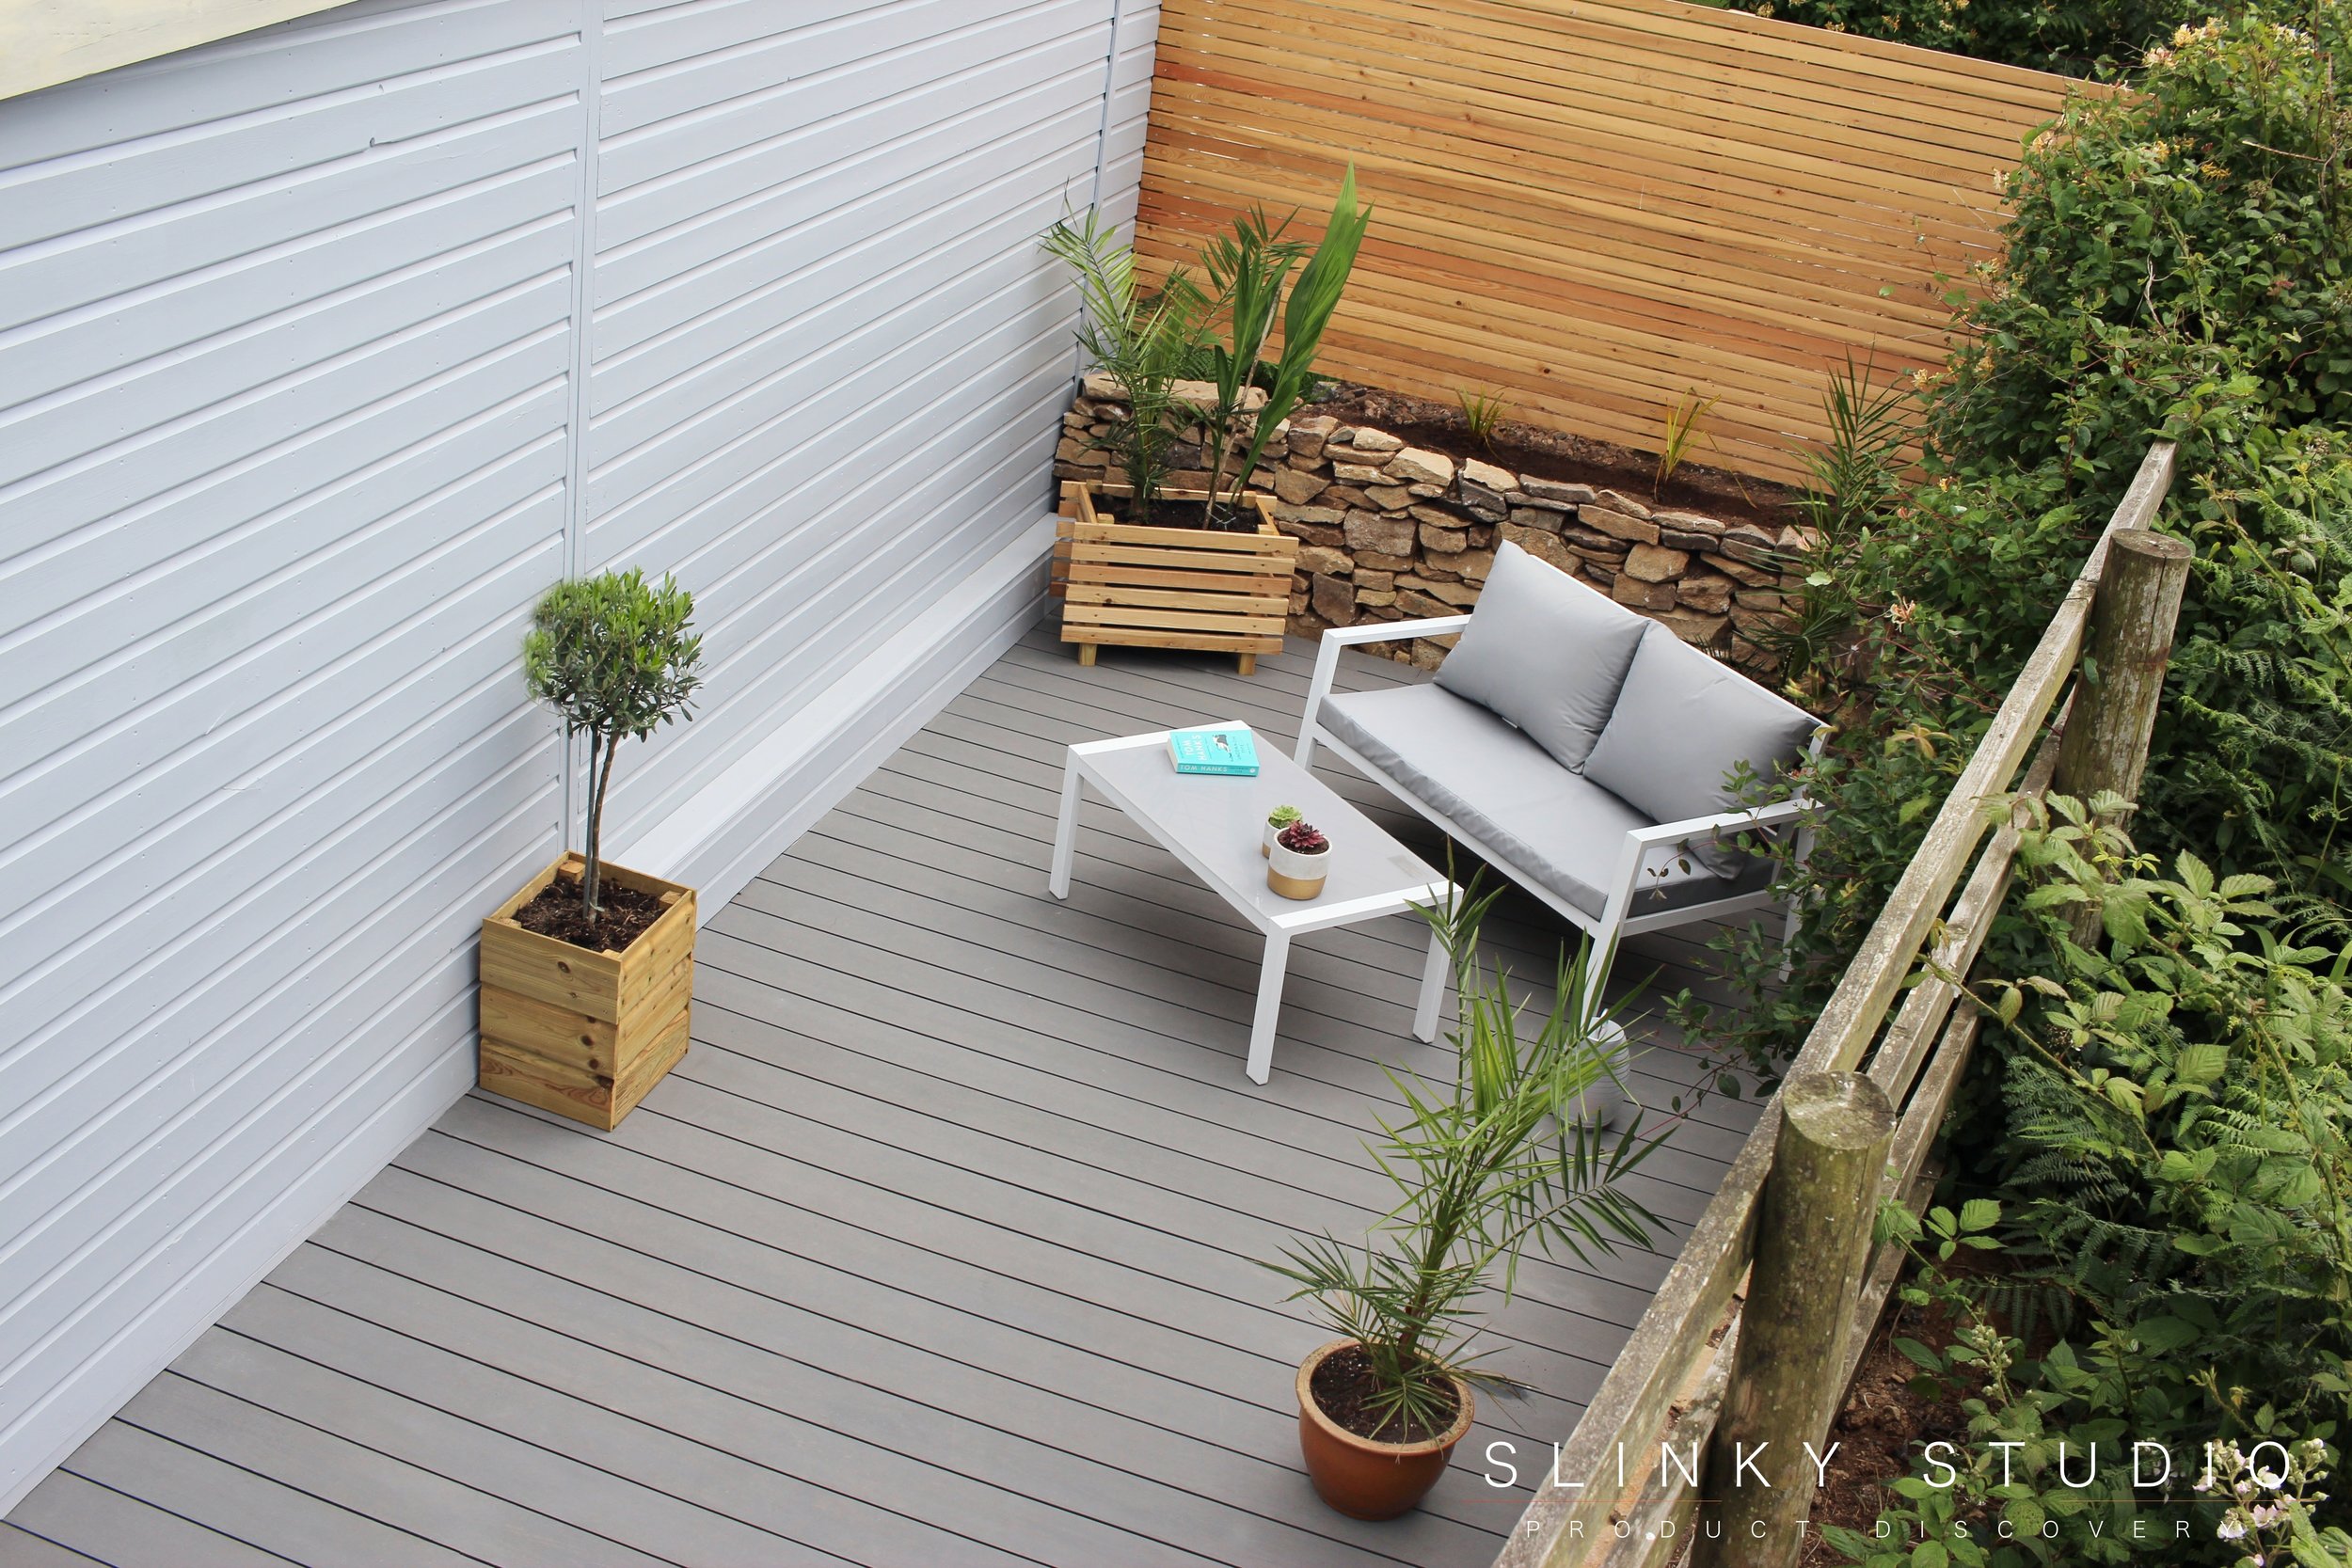
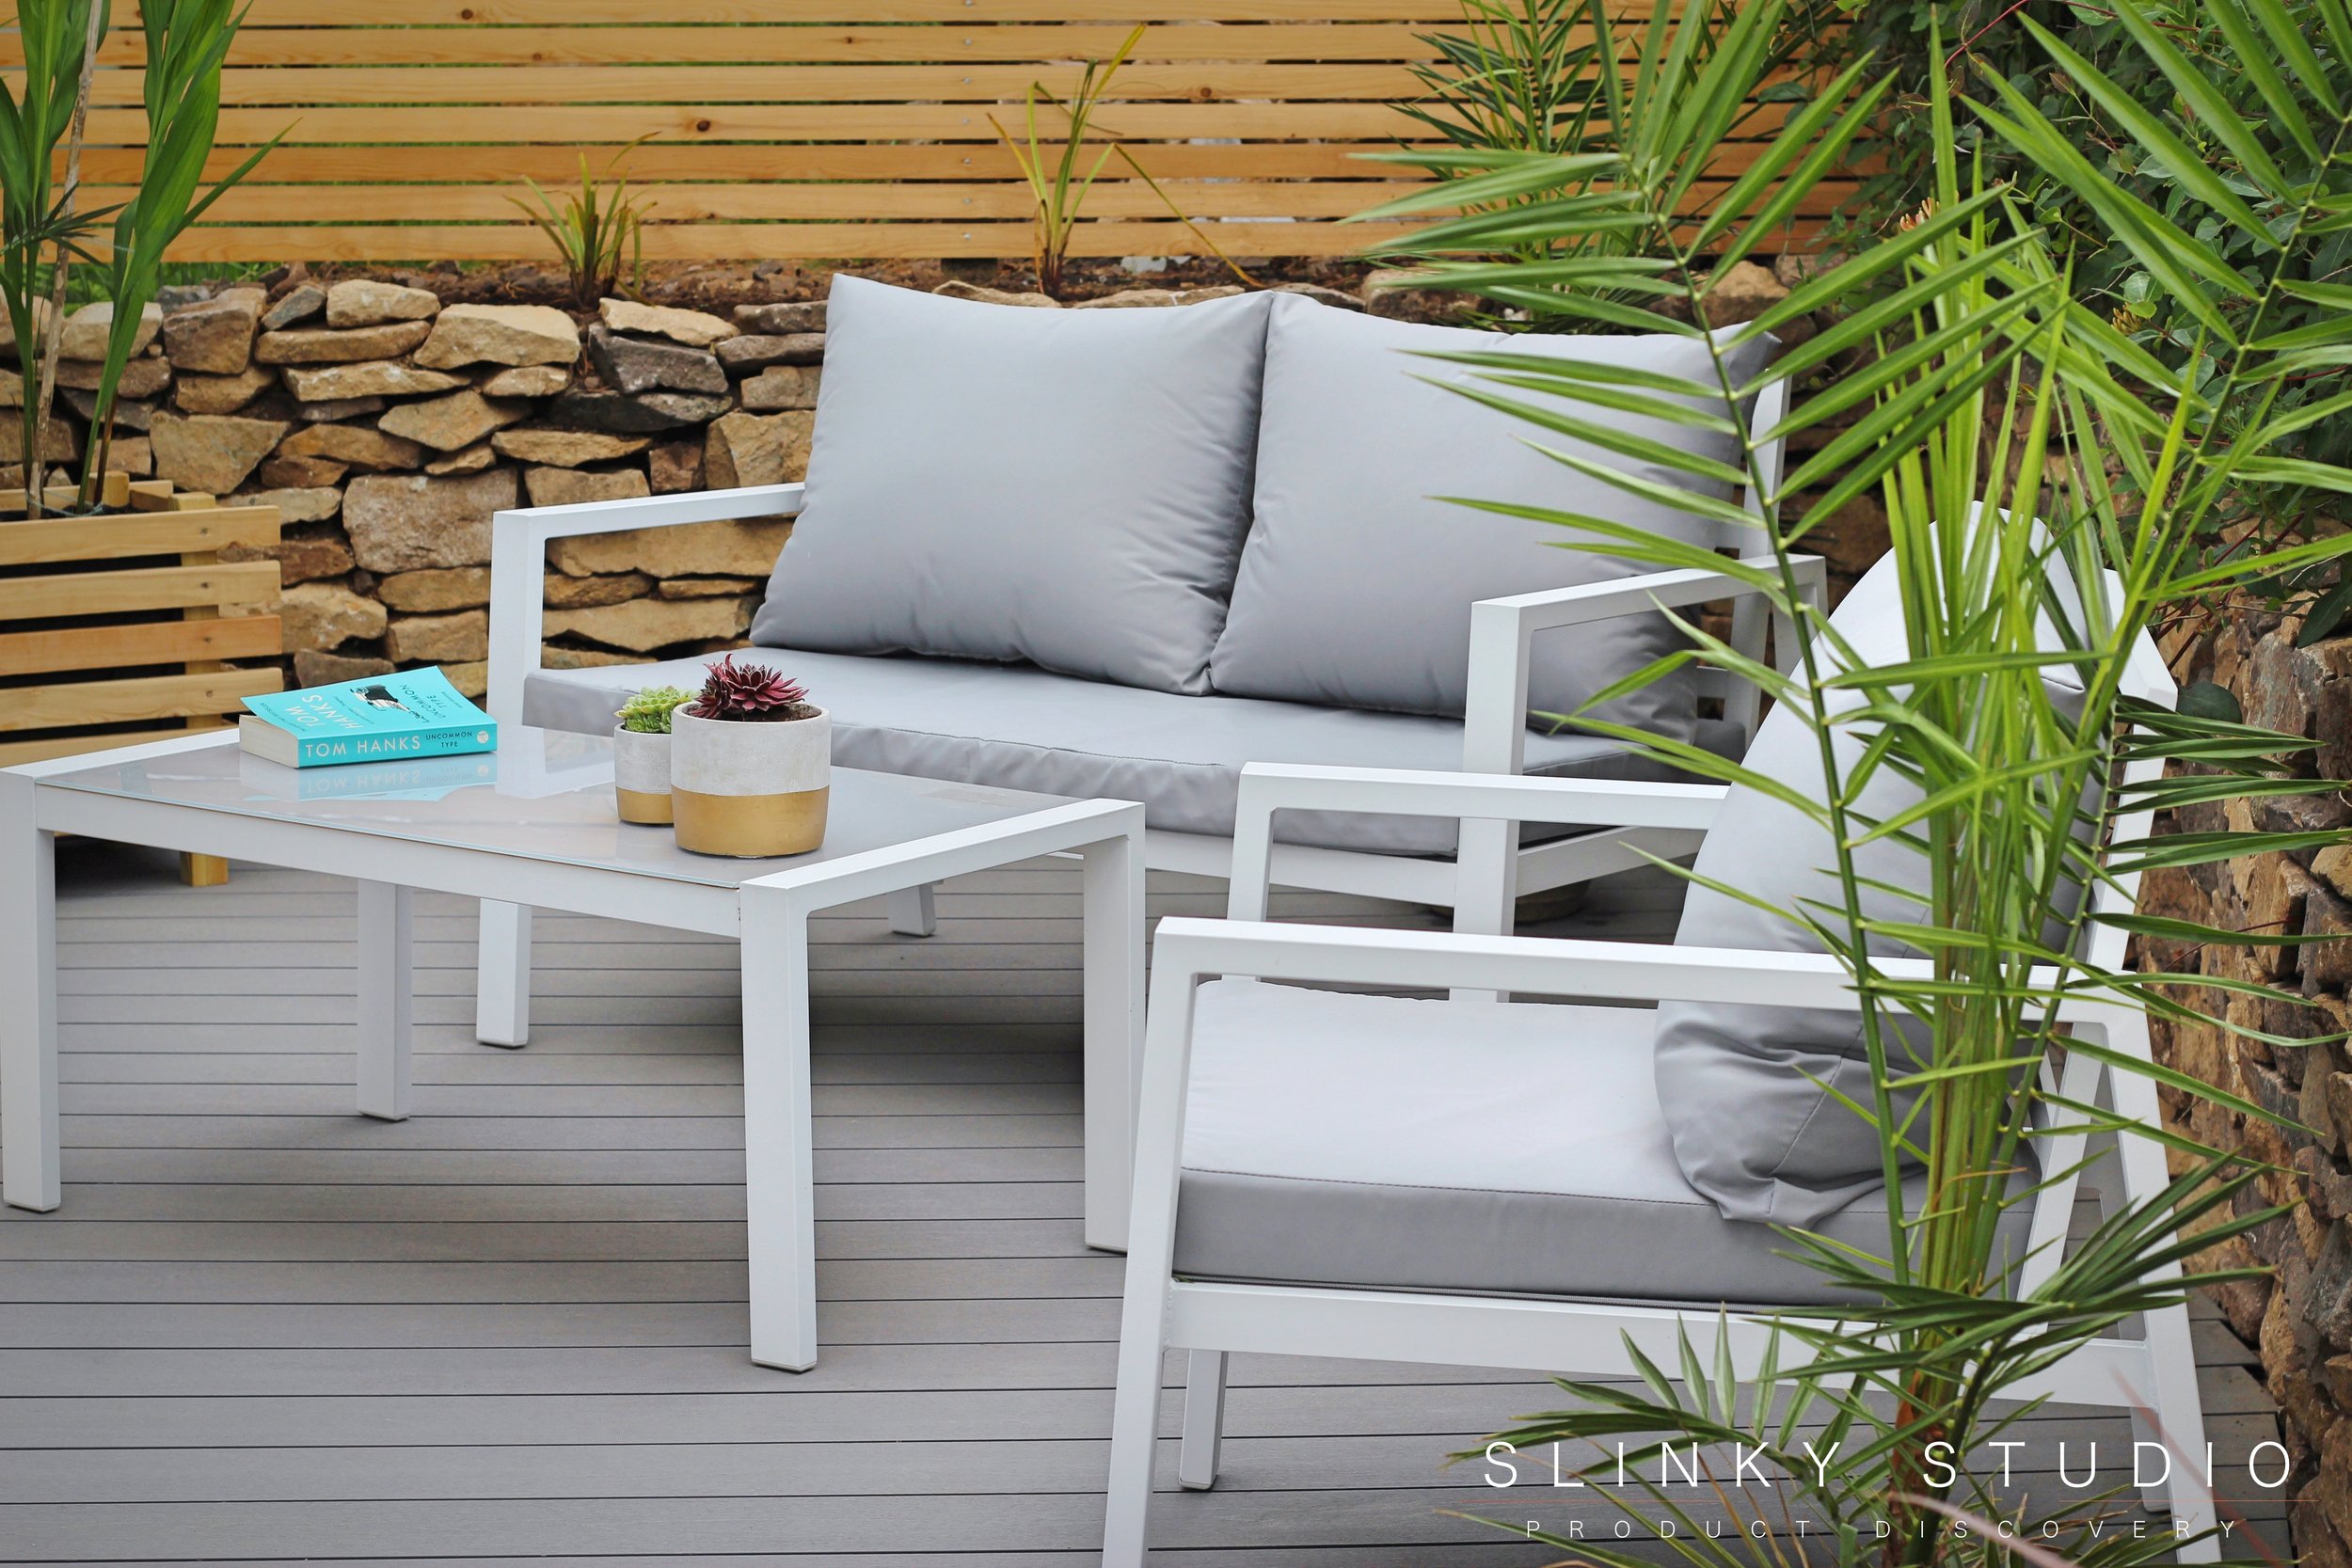
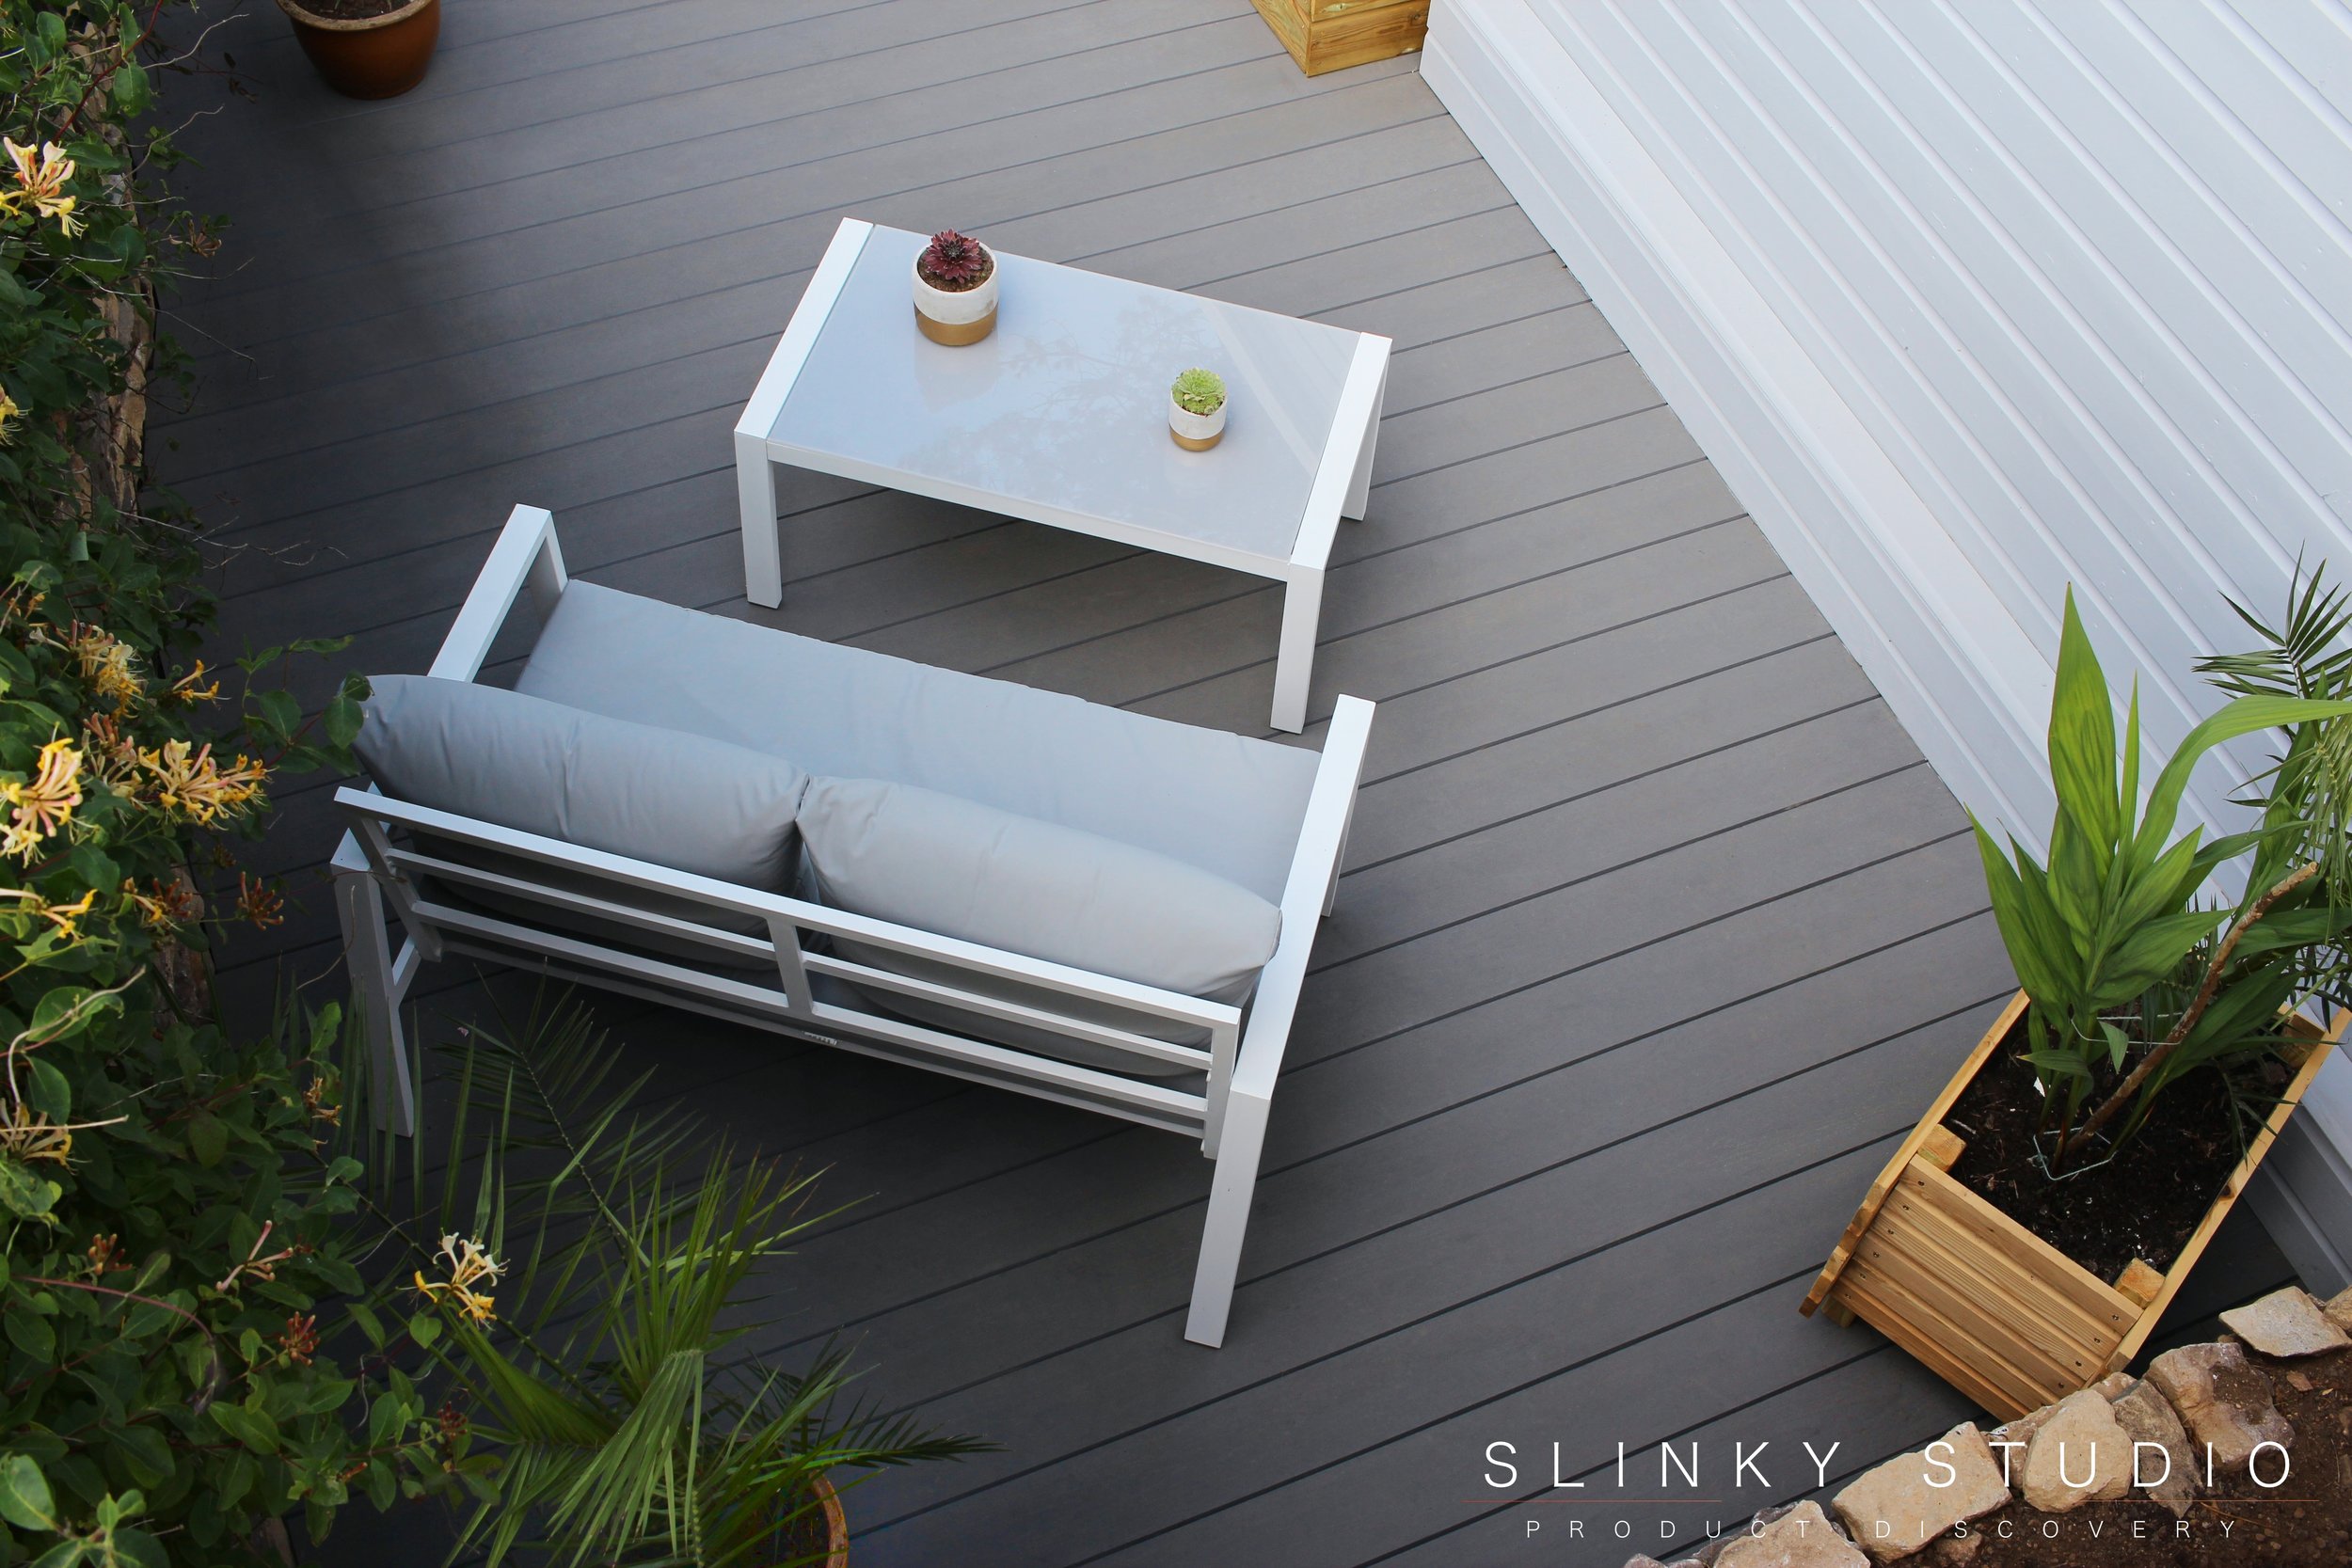
There is always something pleasing about completing a task like decking and even more so when it coincides with summer arriving and a chance to sit out and enjoy your efforts. Obviously any decking area needs to be equipped with seating and some suitable plants, but other than these it is the decking itself that matters.
Well, we still cannot believe just how good our Trekker decking from Havwoods looks - it has transformed our overgrown and rather murky piece of rough land into a truly sophisticated outdoor space, with its remarkably realistic textured wood grain effect incorporated within the solid nature of the Trekker material and the exceptionally exclusive grey vulcan colour. When the decking is wet you can move around with absolute confidence because it really is anti-slip, but the other pleasing thing is that it dries very quickly. It is easy to brush clean if necessary, or can be washed off without fuss. Basically it is maintenance-free and ready for use at anytime and we could not do other than honestly recommend Havwoods Trekker decking for ease of use and quality of finish.