So you like slushy beverages? I suggest you carry on reading.
The first thing I noticed about the Nostalgia Electrics Retro Slush Machine is that it screams 50s from the curves to the chrome to the dark deep maroon colour. And it works; the design sets the unit off and anyone who walks into your kitchen will have a hard time trying not to admire this retro goodness.
The Slush Machine breaks into two parts. The first part is the base that holds the motor and on the right hand side sits a slide switch allowing you to put the machine into 'freeze' mode, 'off' mode and 'dispense' mode. The top part is the slush mixing chamber, this is where the liquid for your slush drink goes. Included within the chamber is an aluminium ice cylinder. On top of the slush mixing chamber is a lid that which allows you to enter the required ingredients through two entries. However I preferred to enter everything without the lid on the machine and then when I was ready to mix, I attached the lid.
 The design of how everything works is equally good. The principle of the slush making process is to get the liquid intensely cold and to keep it moving. To set everything up you will need to enter six tablespoons of salt, half a cup of water and then fill with ice until it reaches one inch from the ice cylinder's top. All this goes through the entry hole in the lid which says 'ice and salt'. Next you add your liquid of choice. Your liquid needs to be very sugary, diet and sugar free drinks will NOT work. Fizzy drinks work very well and the same goes for cordials and juice drinks. With cordials I'd recommend you make the drink up beforehand and then pour it in instead of entering the cordial and water separately. So to enter any liquid you either pour it through the hole in the lid named 'Beverages' or straight into the chamber without the lid attached up to the Max Fill line.
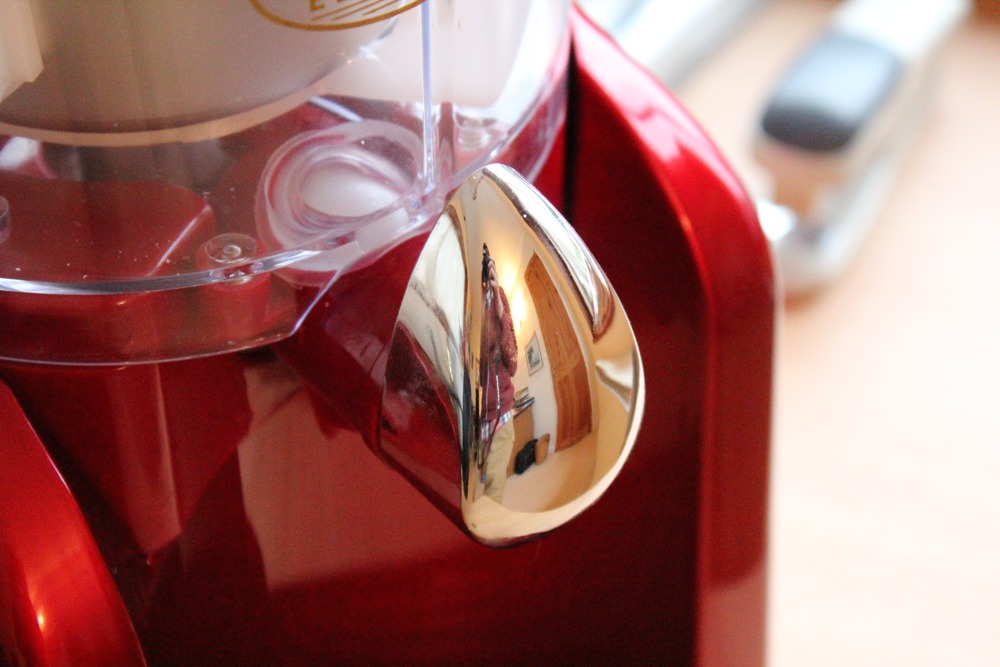
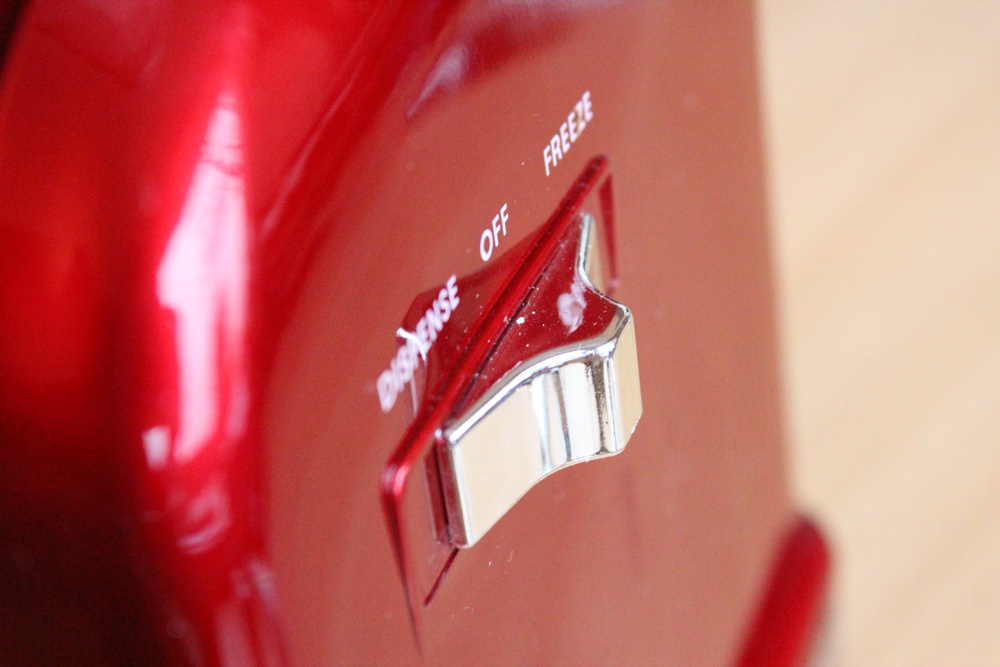 The next thing to do is turn on the Nostalgia Electrics Retro Slush Machine via the side switch on the right of the base to 'freeze' mode. This will trigger the mixing process to begin and all you have to do is sit back and wait for your slush to be made. This should take roughly 10-25 minutes depending on how cold the liquid is before you pour it in and how sugary it is. The more sugar the thicker the slush. One thing to note is that the Retro Slush Machine is quite noisy during this process, personally this doesn't bother me all that much but the less noise kitchen appliances make the better. Once your slush is complete switch the machine onto 'dispense' mode and put a cup under the spigot and twist the silver dispense handle to the right to allow the slush to freely dispense.
So far I've used some very sugary drinks such as Coca Cola and many different flavours of cordial. It's all worked perfectly and the slush has been smooth and thick! And having a machine within your home to make slush this easily is very exciting, the way I see it, as you can experiment and find out some very cool and tasty slush flavours which you wouldn't be able to buy or find in an eating or drinking establishment.
 I like to drink slush through a straw and I'm currently using big thick chunky straws which work well for slush. I'd also recommend slush straws or as some call them spoon straws. Normal thin straws for fizzy drinks don't work all that well with slush and mostly suck all the juice up leaving you with bland ice.
Overall the Nostalgia Electrics Retro Slush Machine is a robust and superb product. It's perfect for the upcoming summer holidays spent with family and friends, and for me is something I'm going to use at least once a week all year round. The design is awesome, it's very easy to set everything up for the slush making process and it's very quick at actually making the slush. The outcome is that you have perfectly textured slush which tastes amazing and is very refreshing too.